We all know that the L-mount is no longer exclusively used by Leica anymore. They teamed up a few months ago with Sigma and Panasonic to create more lenses and cameras on the L-mount platform. And it now seems that the collaboration is already paying off. One of the biggest complaints about the L-mount platform is that the availability of native lenses is limited. And some of the native lenses are also hard to get.
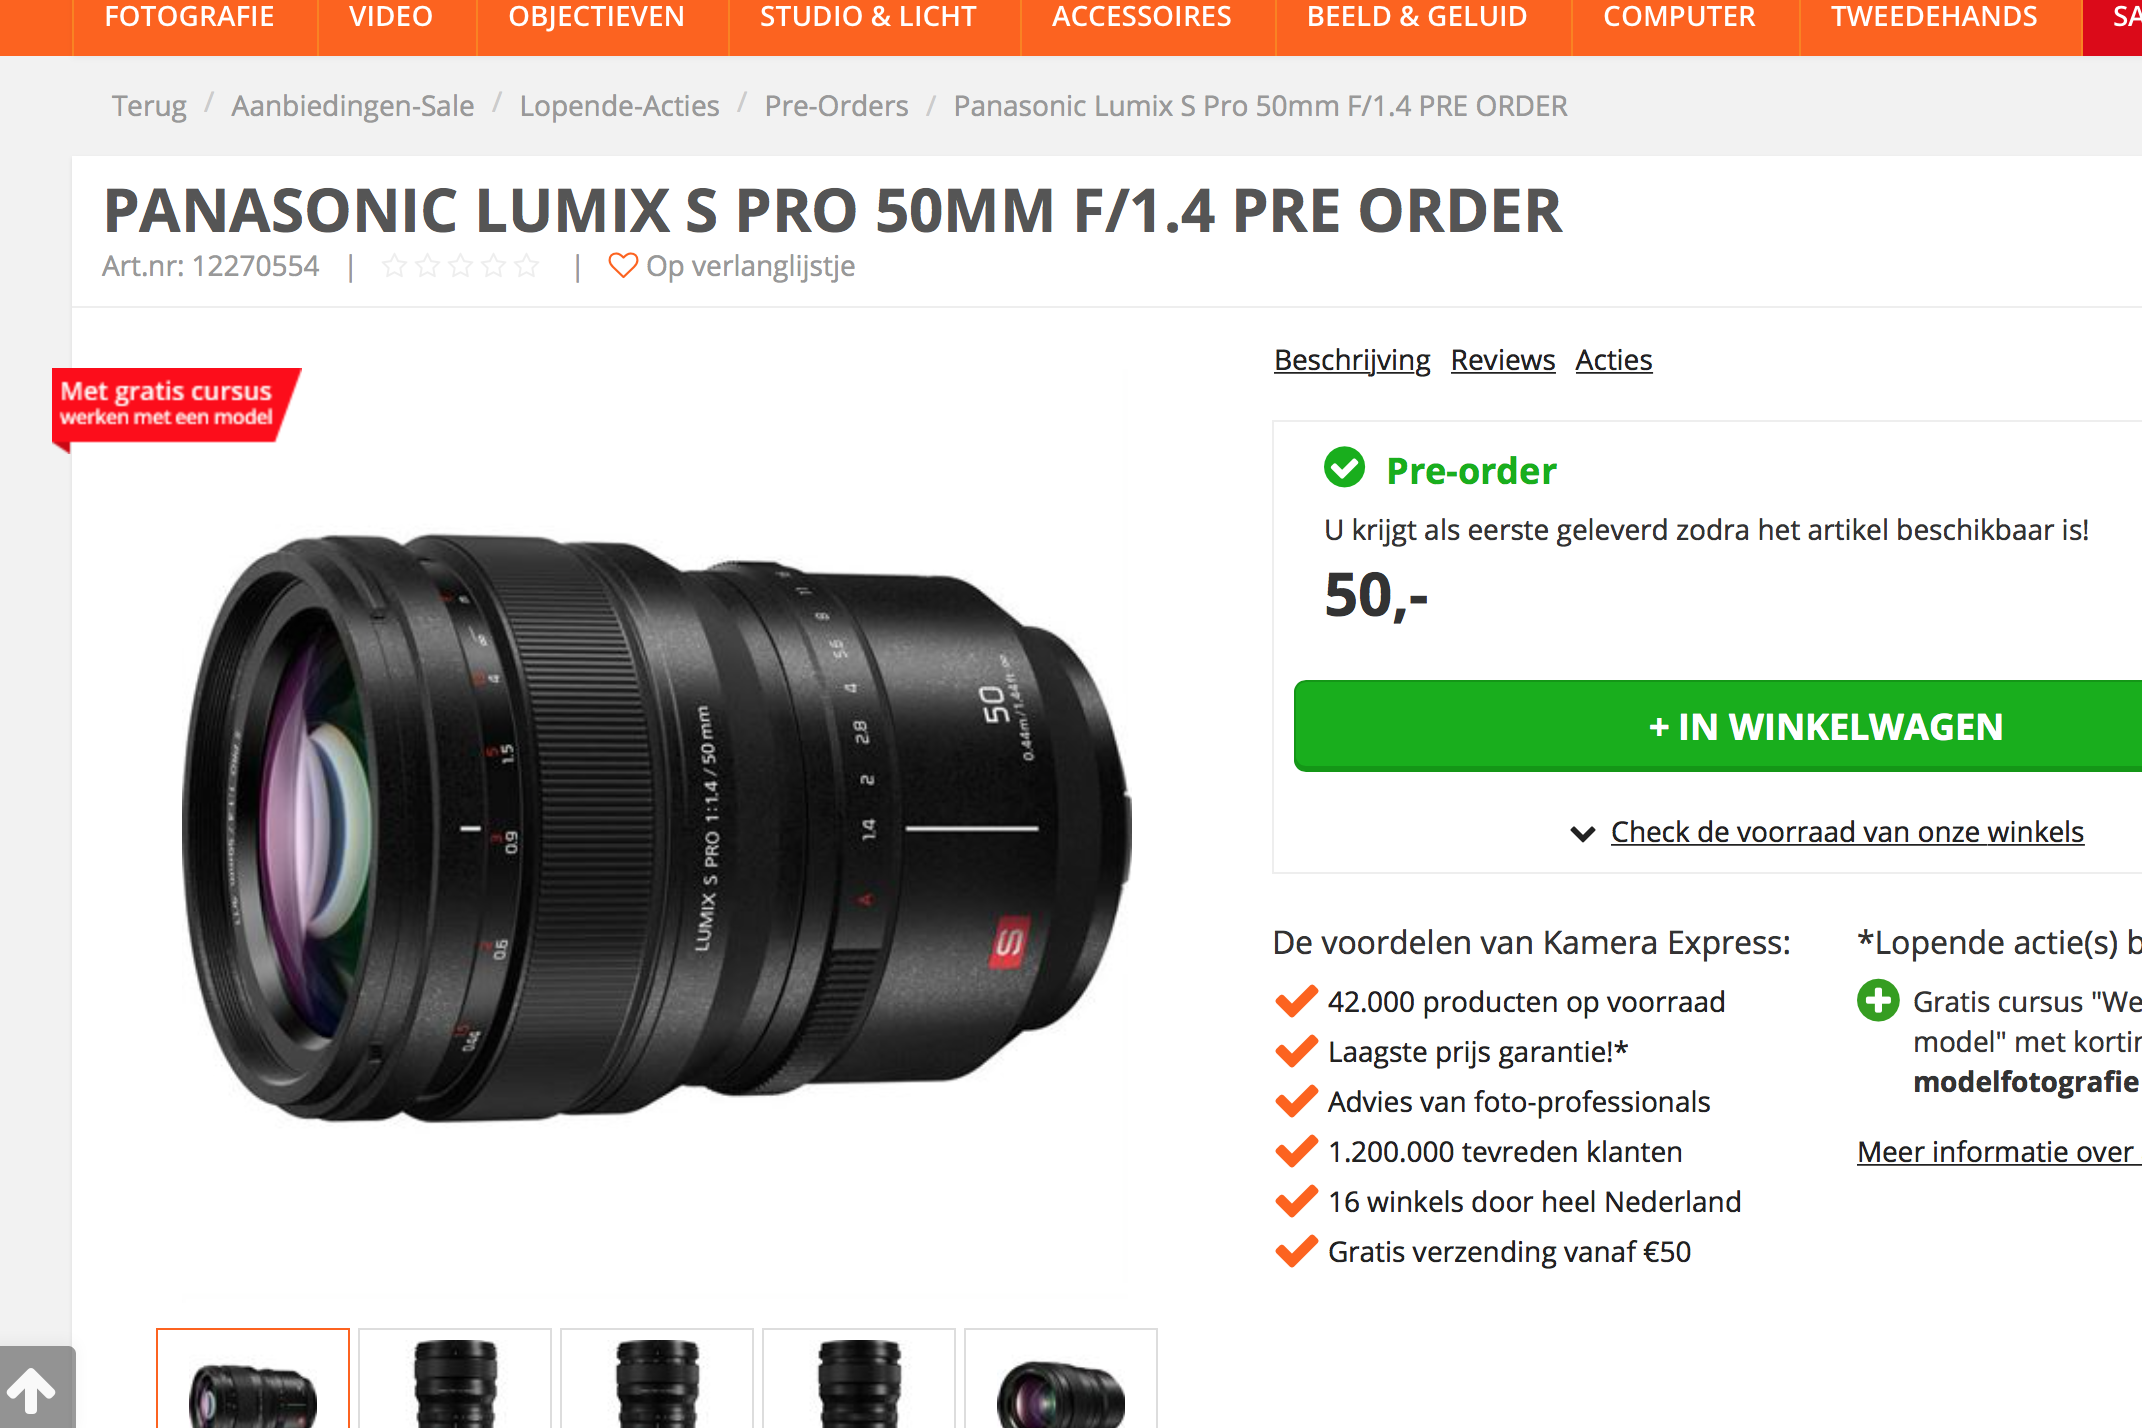
Panasonic is serious about this new collaboration and recently presented three new L-mount lenses: a 50/1.4, a 24-105/4 and a 70-200/4. And the good news: they will be available within 8 weeks. The 50mm will cost 2499 euros , the 24-105 will be 1399 euros and the 70-200 will be 1899 euros. I think these are interesting prices for Leica shooters that use their SL with M lenses, but sometimes want a lens with auto focus.
Another interesting feature is that the 50mm lens, unlike the Leica SL native lenses, has an aperture ring on the lens. The other two zooms don’t have this feature. The zooms are equipped with built in image stabilization, whereas the 50 is not.
All three lenses are available for pre-order. Exciting times!
The more I shoot with the Leica CL, the more I’m starting to love it. With my T (type 701) and the tiny 18 and 23mm lenses, plus a 50 Summicron M with the adapter, there’s a complete kit that is incredibly light and versatile.
Of course I much prefer the CL to the T, but this isn’t a fair comparison. The 701 is the oldest T and I don’t have the visoflex, which forces me to use the display for shooting. I prefer a proper viewfinder (although I really enjoyed shooting the T with the 18mm for a week on Gran Canaria).
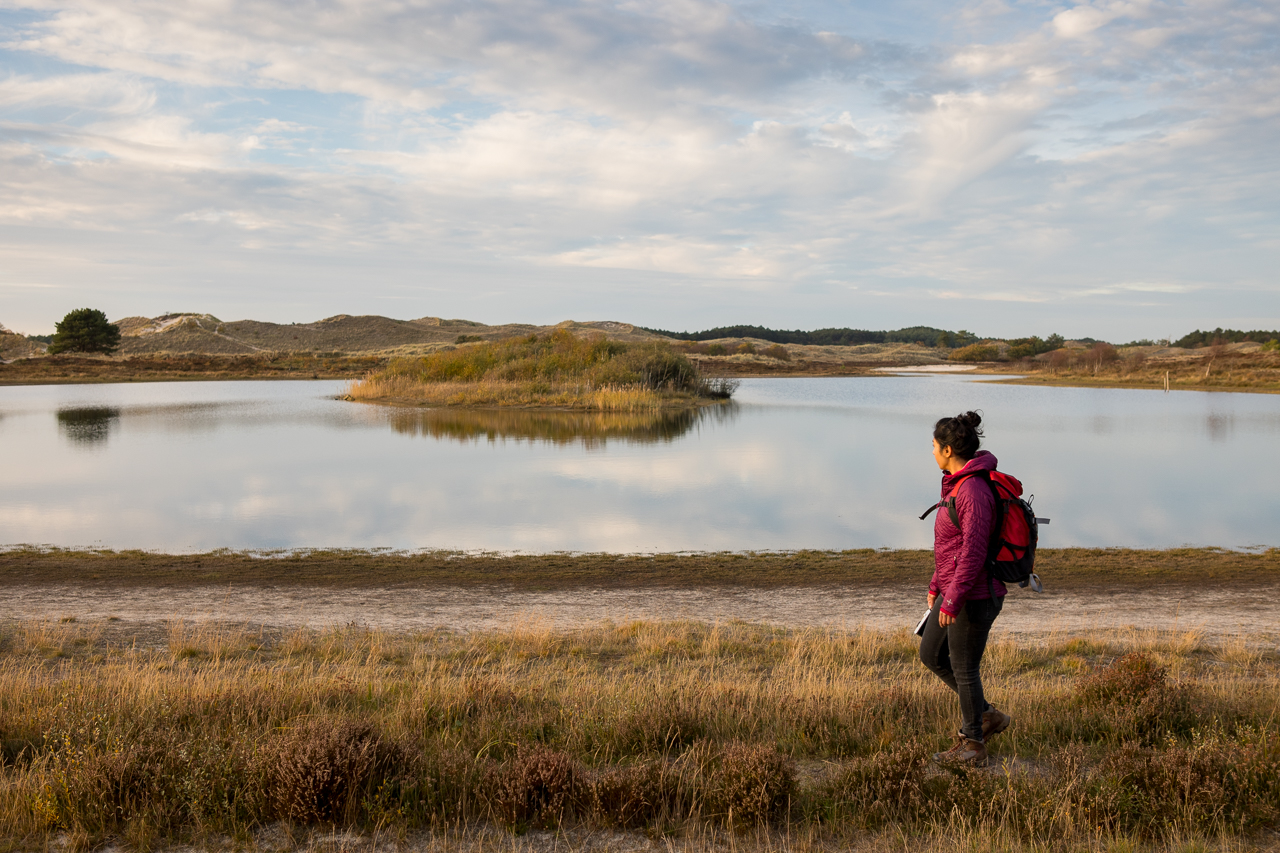
Anyway, we went out for a weekend in our own country and didn’t want to spend much time on doing anything at all, so we just took a minimalist kit and took both cameras for a walk along the coast.
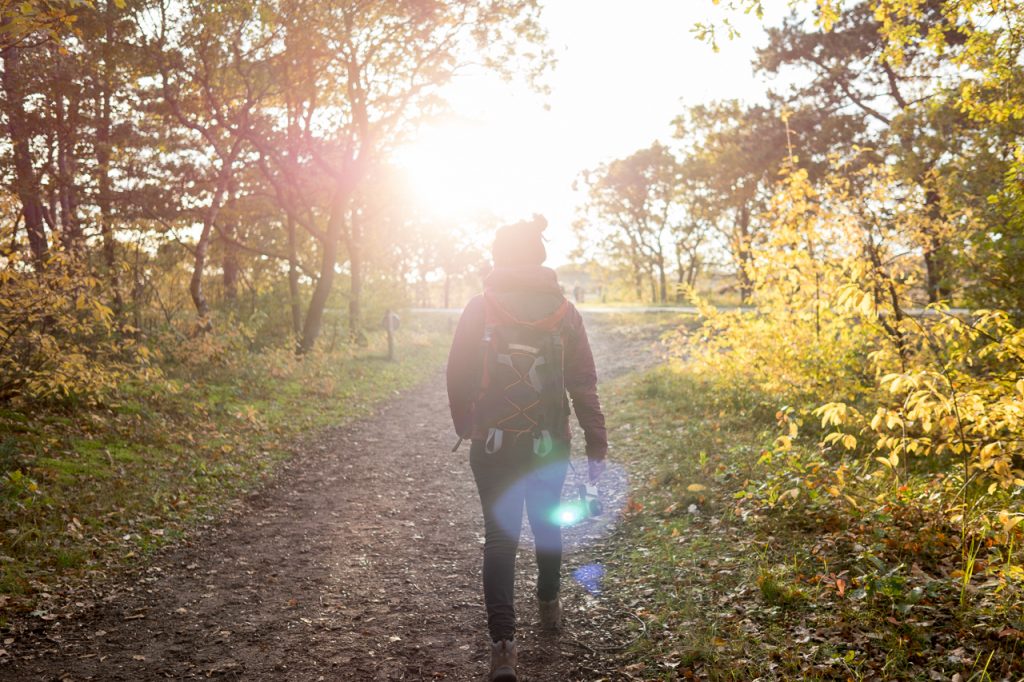
The CL with the 23 Summicron, shot straight against the sun.A bit of purple fringing which you can get rid off, if you want to.
The T and CL are still a bit underrated among Leica shooters. Although there are quite a few M-shooters that bought the CL and (shortly after) sold their M, it seems that most of the attention goes to the M. Both the T and CL ‘only’ have APS-C sized sensors (I’ve sold dozens of pictures from the CL to magazines which are printed full spread without any problem at all) and some people think that APS-C is inferior to full frame.
In reality, the CL (and T) make my M (and R) gear much more versatile. I can use any M lens on my CL if I want to, but if I think I need auto focus or want the smallest lens I have, I bring the 18 or 23. Throw in the excellent Leica SL and I can configure a kit for any photographic challenge that will work.
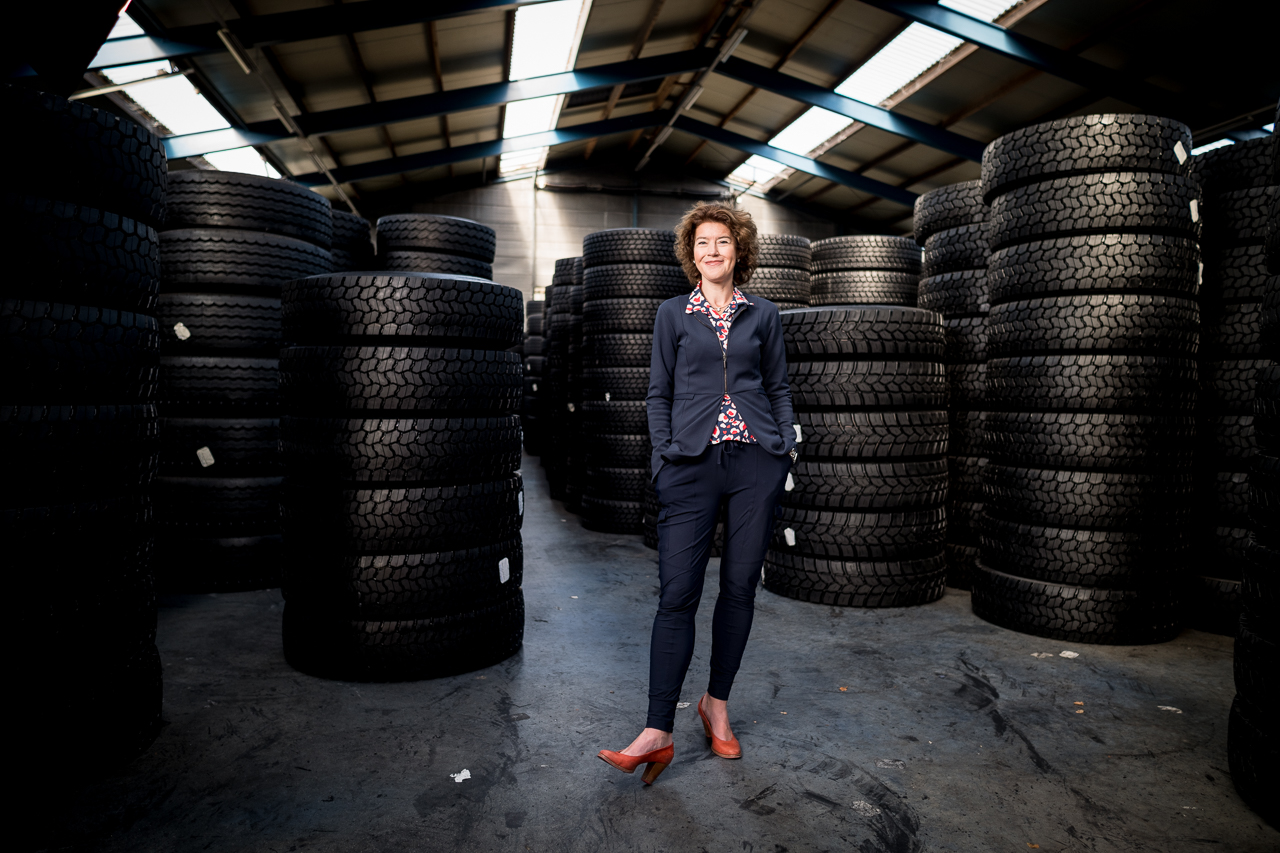
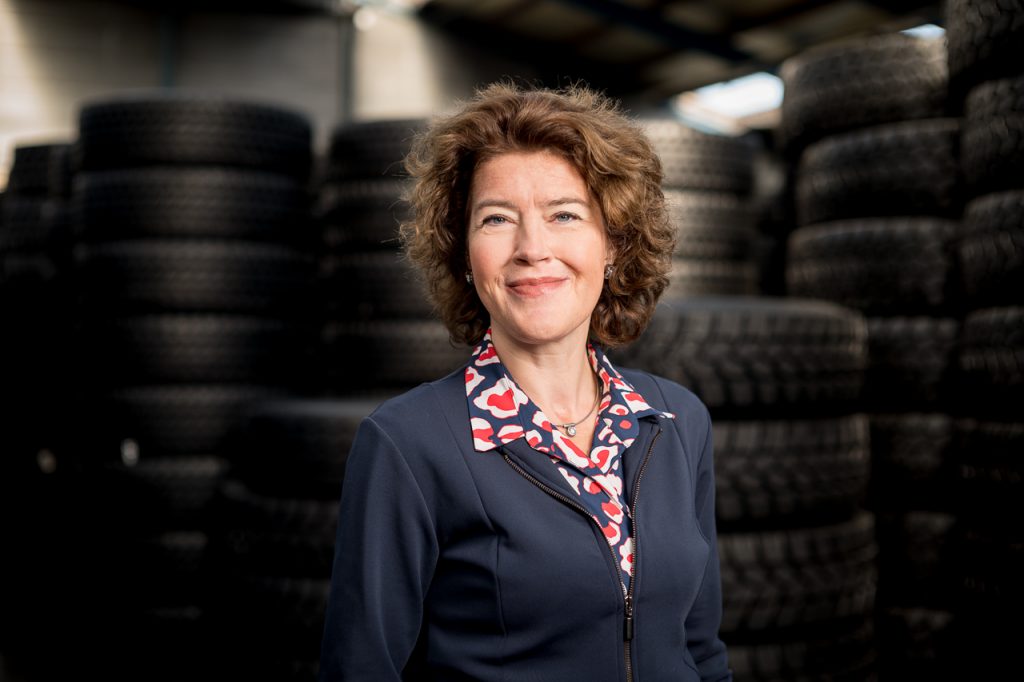
This morning I went through a couple of my Lightroom folders and found a corporate shoot that I did in November last year. My subject was a very nice lady who is in the retirement funding business for employees that work in the ‘wheels and tyres’ business (yes, we have experts for everything here).
Anyway, long story short, I packed my Leica SL, the 24/1.4 Summilux, 50/0.95 Noctilux, two Broncolor Siros 800 L units, two softboxes and some other stuff.
I wanted to show something of the tyre business, so I had requested to shoot at a company where they actually have a lot of tyres laying around. Well, they had plenty here.
So how did I take these shot? First I set the exposure of the Leica SL to a level where I could see enough of the tyres in the background, but without a flash, the picture would be underexposed. Next, I set up one of the Siros units with a 60×60 softbox (this is small enough to carry around and go through doors, while the softbox is still set up, but big enough for soft light). Then, I manually set the amount of light of the flash until my subject (and a bit of the surrounding tyres) was well lit.
A very simple setup which resulted in a set of pictures which my client was very happy with.
I’m currently working on a (small) group workshop where I’ll be teaching essential flash, studio and portrait skills to Leica users. Stay tuned for more.
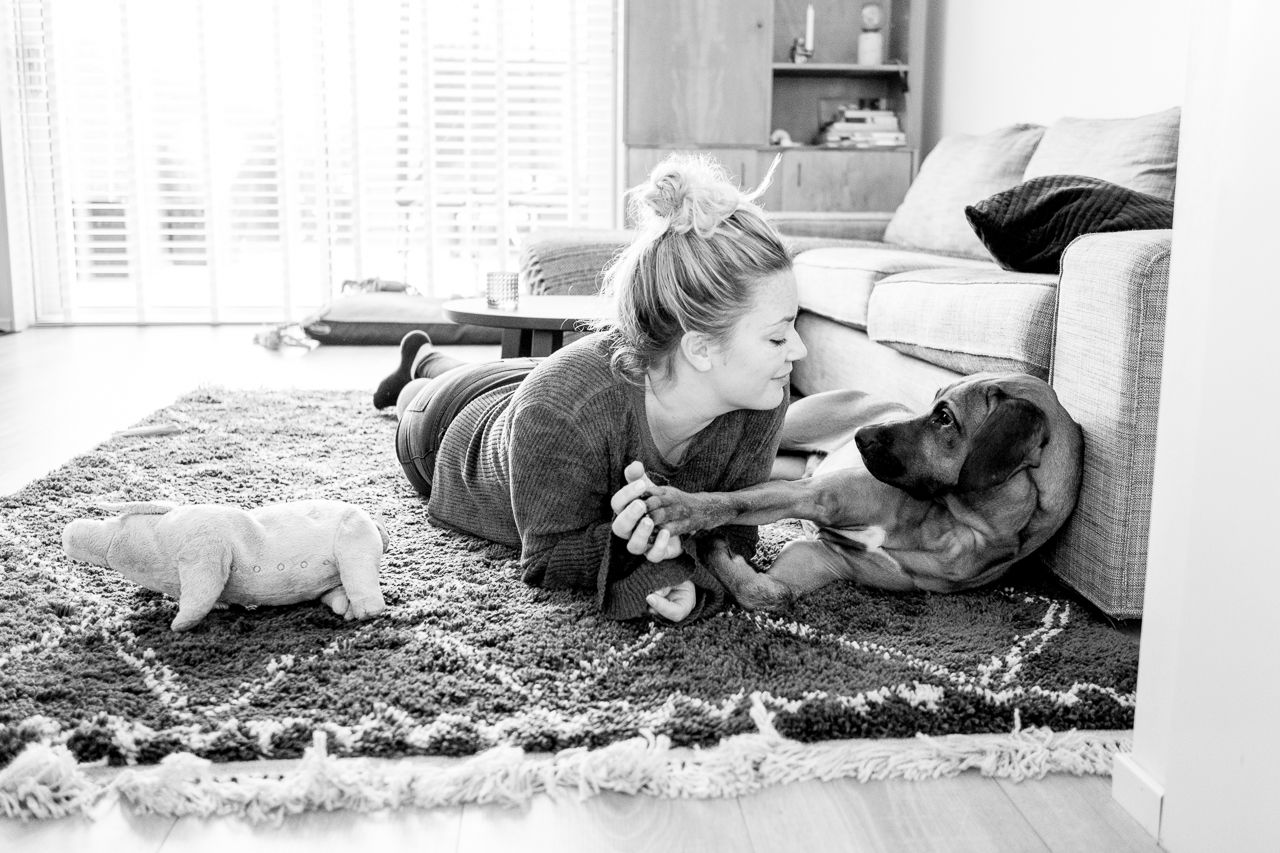
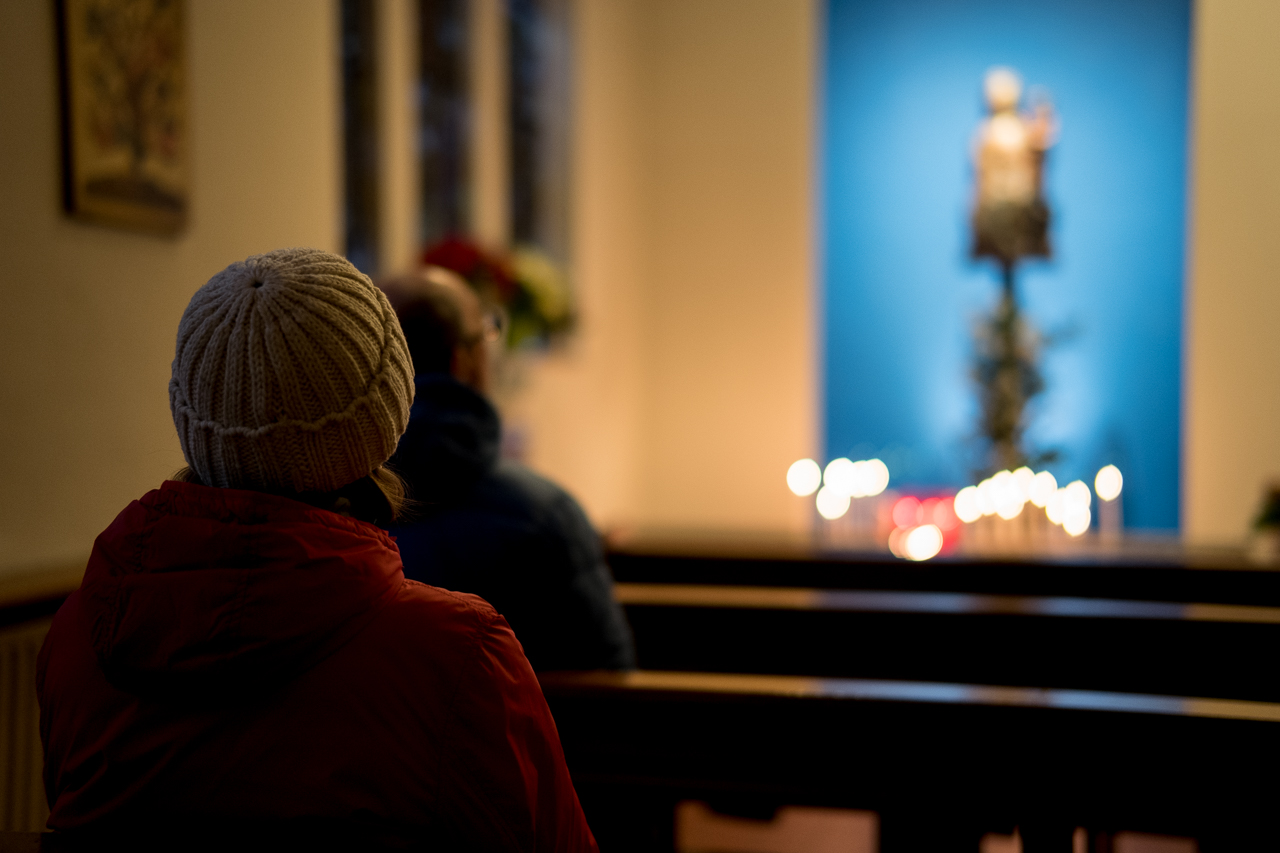
I try to make it a habit to take a camera anywhere I go. Last Christmas we visited our friends and when we left, one of our friends started to cuddle our big furry friend Dorus. I took my CL, which was in my jacket pocket and took a few shots. Although these are simple photographs, they will become very precious when time passes.
Of course you don’t need an M10 and Noctilux for a shot like this, but it helps (especially indoors) to have a camera with either a fast lens or high ISO performace, so you don’t have to use flash. Most important of all however, is timing. This picture is lovely (if I may say so) because of the emotion. Half a second later, the moment is gone.
Last Friday I hosted a workshop in Delft, where my student had the new Cosina Voigtländer 50/1.2 ASPH with him. I borrowed the lens for a few quick (not really inspiring) shots, just to get a feel for how the lens renders.
The lens is surprisingly light and small for such a fast 50. Focus feels really nice, as does the aperture ring. IQ wise, it seems sharp enough to me, with nice bokeh and rendering. The only thing I noticed is that it distorted more than I expected. Might have something to do with the fact that this lens has been coded as a Leica 50/1.0. But even if it’s a property of the lens: I could live with it for that price.
The price is exactly the reason why I’d like to have this lens. I’ve had quite a few assignments where I used my Noctilux, but where a slightly less expensive lens would have been the smarter choice. Most of my clients don’t know the Noctilux, nor do they care about it. As they should, because it’s all about the images.
I’ll have to wait a bit longer for this lens to be in stock, because it seems I’m not the only one who’s interested in this nice CV 50.
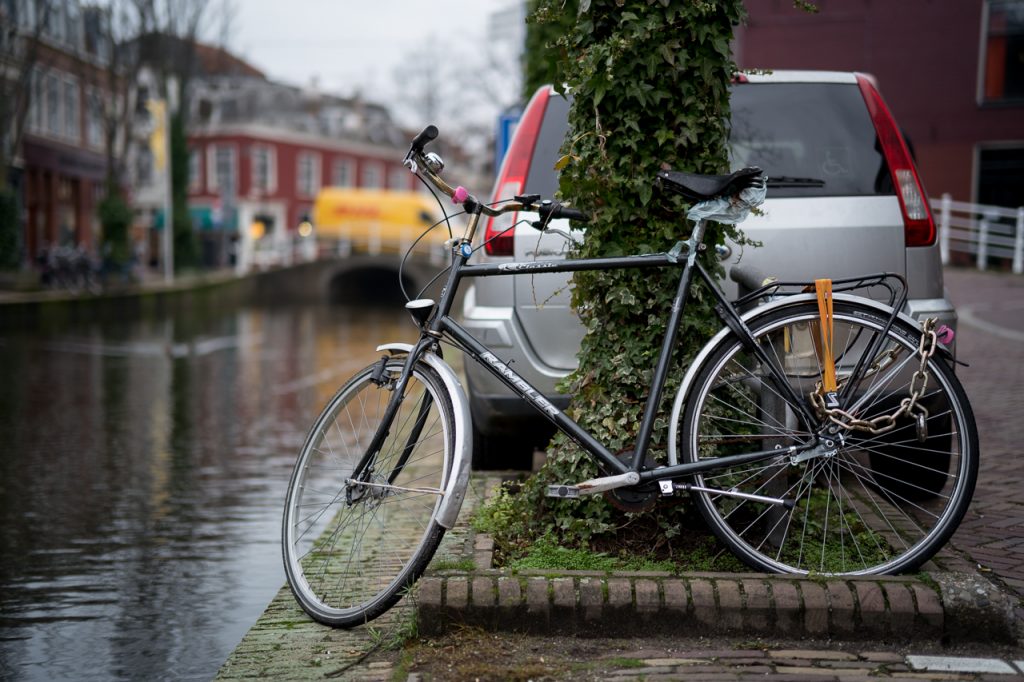
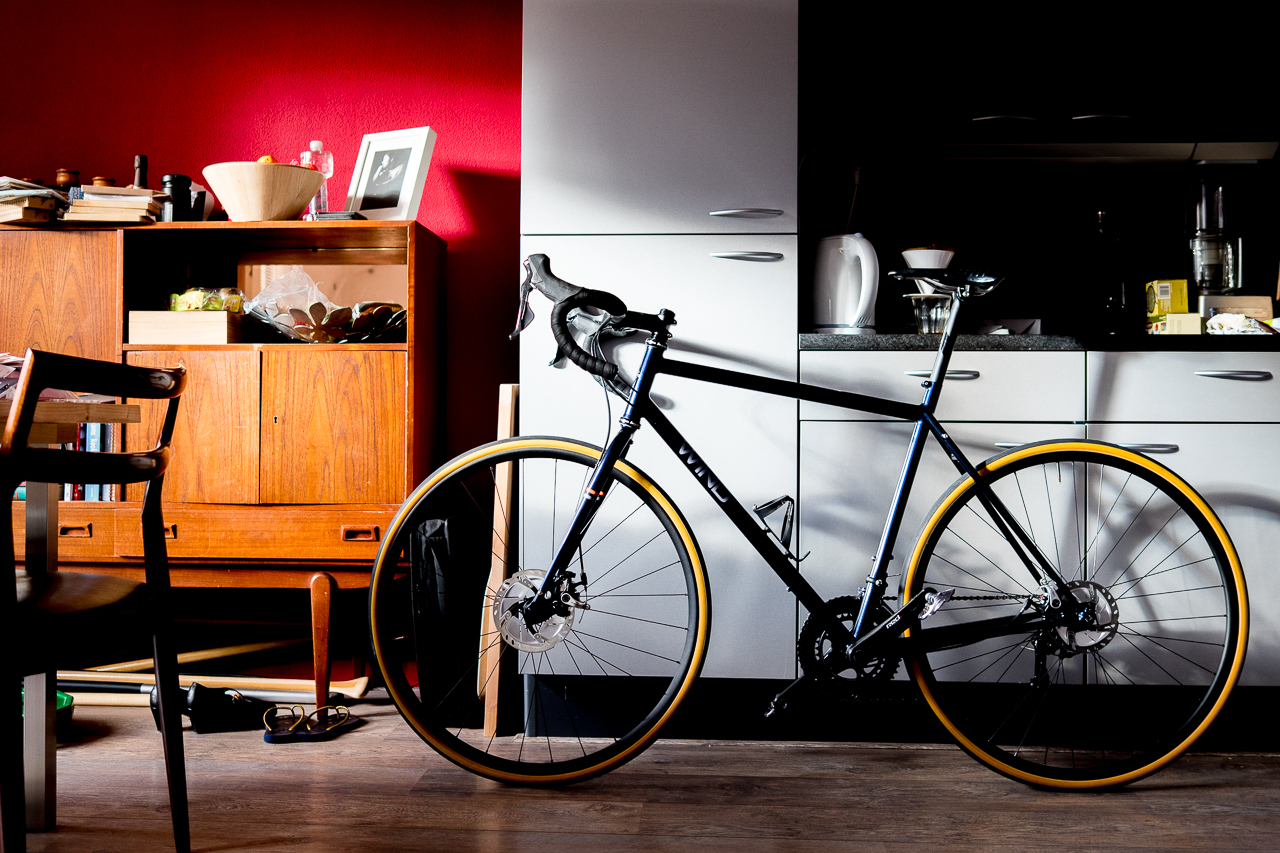
I’ve been busy with other things lately. To start with, I participated in the Rapha Festive 500 challenge, where I rode 556 km on my bike between Christmas and New Years Eve. Took some time for preparing. Also, December is always packed with last minute assignments and chores at home (paperwork, insurances, blablabla).
Because I’ve covered more miles on my bike than with my car, I rewarded myself with a new, custom made steel bike. It has become a piece of art and I can truly recommend getting one for yourself as well. It’s not as expensive as it sounds. For the price of a high-end carbon bike, you can get a custom bike as well, with just a very small weight penalty.
I’m looking forward to 2019 and I’m very, very curious what products will be introduced for the L-mount. M-mount wise, there won’t probably much new this year.
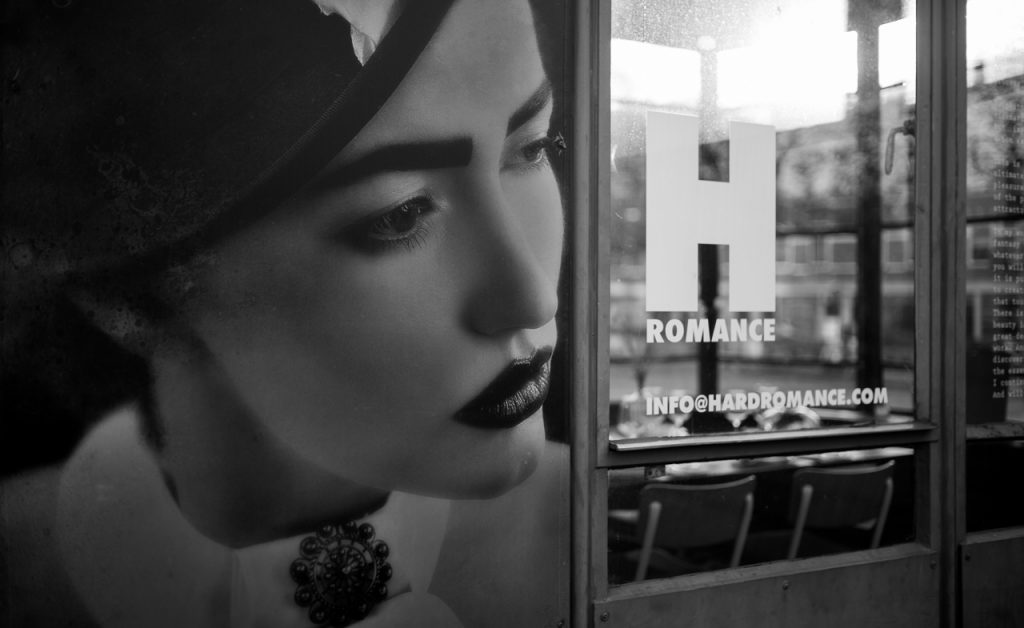
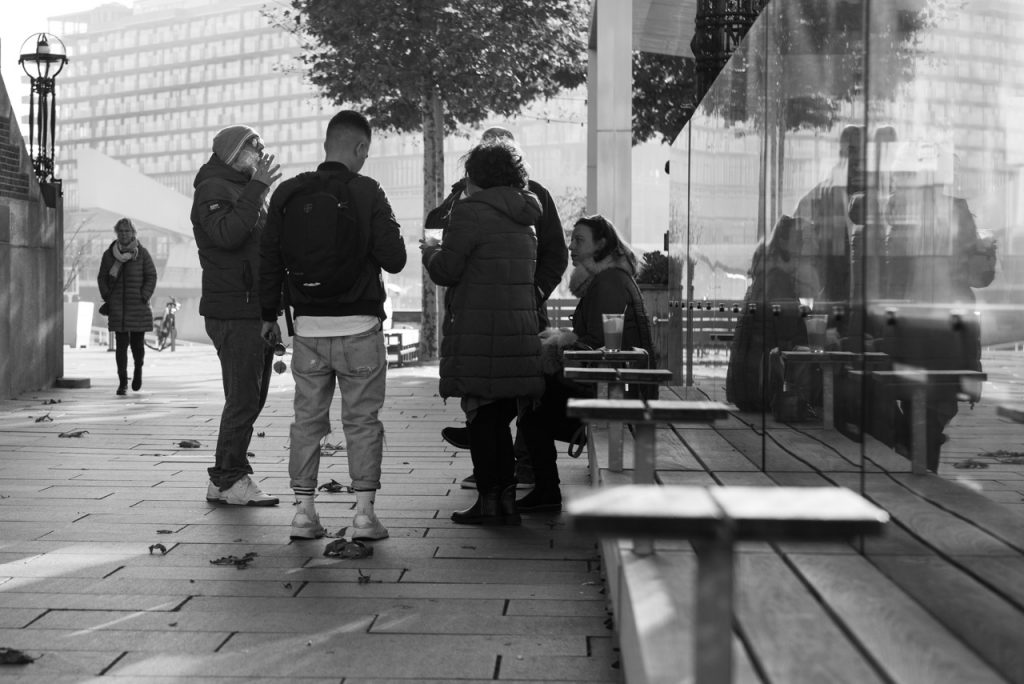
Two weeks ago I had a full weekend with two brothers who both love their Leica’s. One of the brothers had participated in one of my workshops before and now they decided to do some serious photography together.
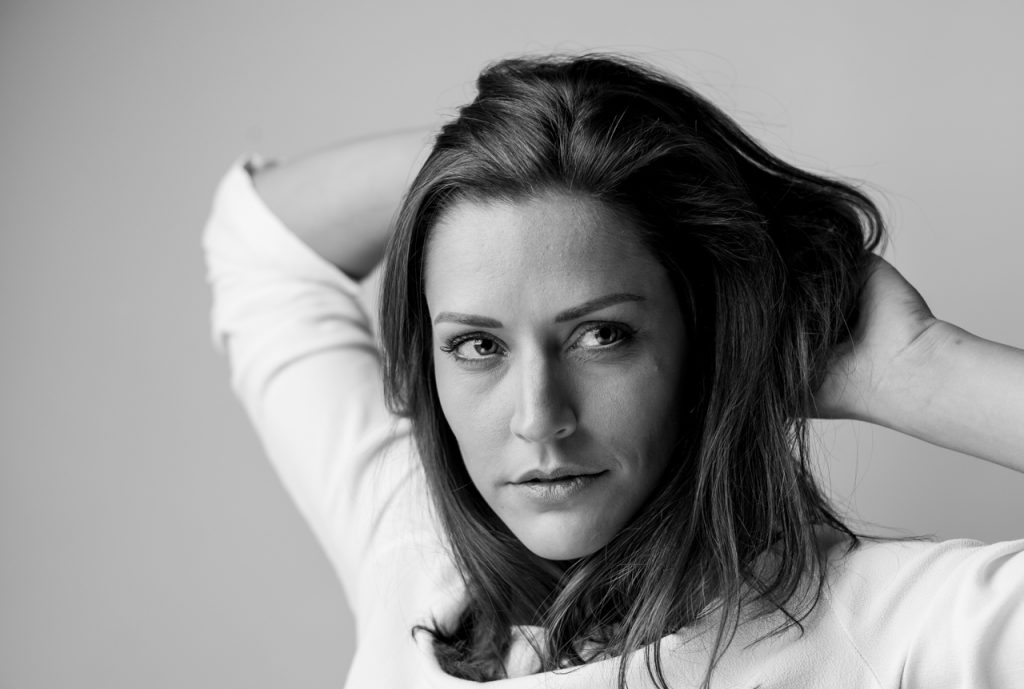
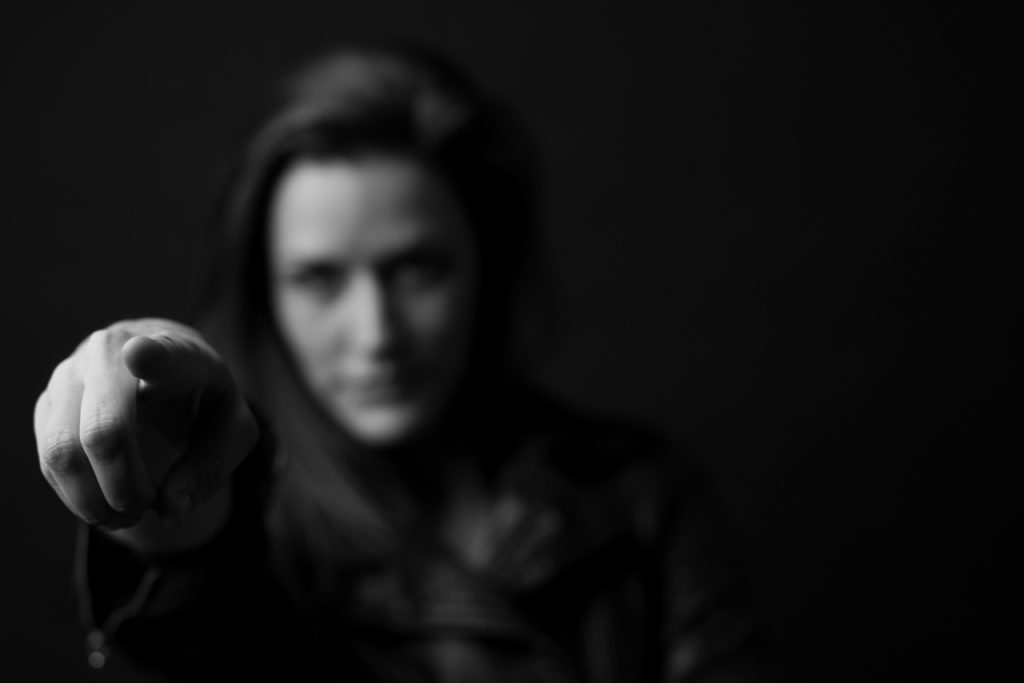
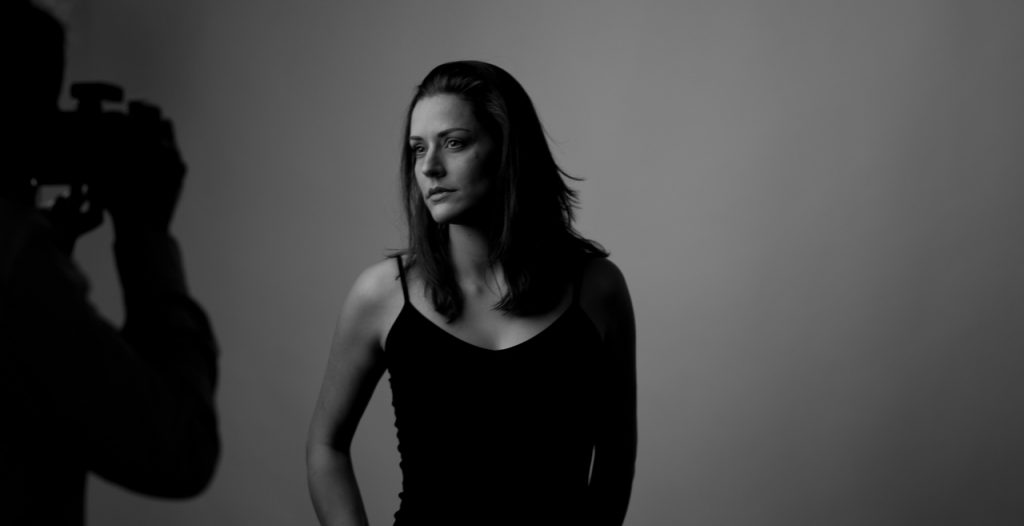
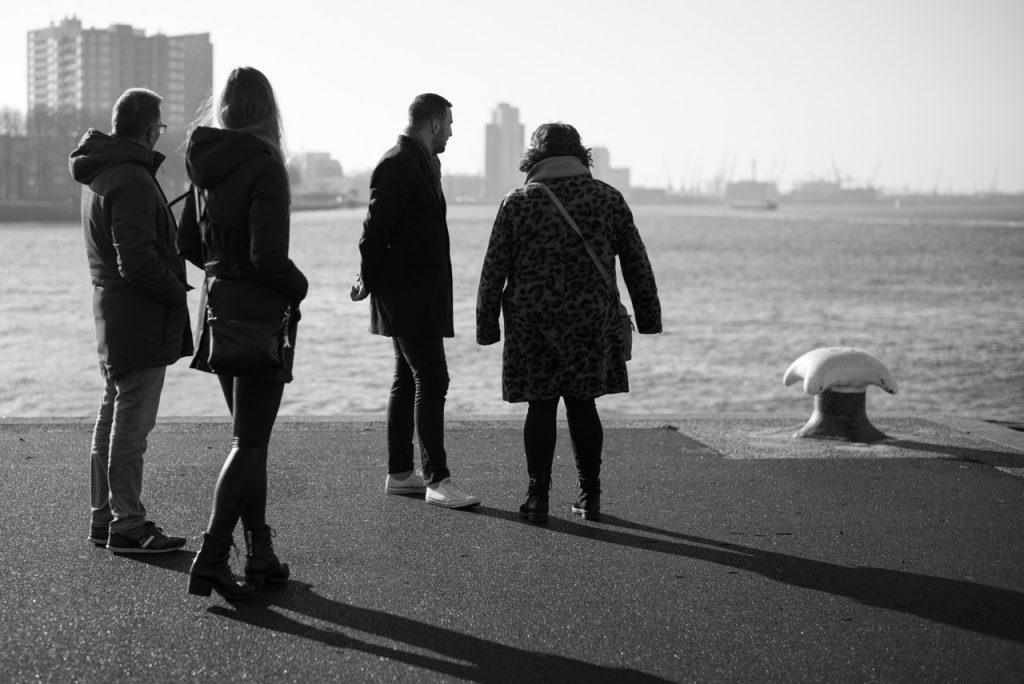
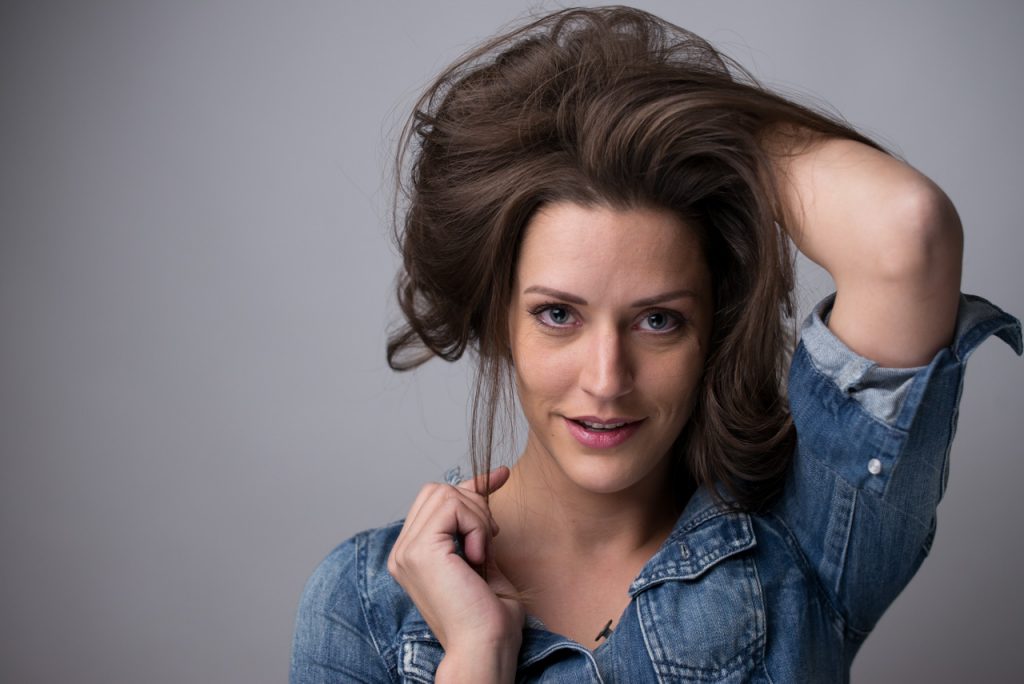
We started in Rotterdam with a thorough portfolio review and then hit the streets for some documentary shooting. The second day was a completely new experience for both R and J: we spent a day in a studio, working with a model. At first, they were a bit hesitant, but when they saw their work on a computer screen, it all changed. They were unstoppable.
Last week I received a mail from R, asking which studio kit he should buy.
Shooting in a studio is a thing not many Leica shooters have experienced, but I can tell you it it tremendous fun and you definitely learn a lot from it.
This is what J had to say about the weekend:
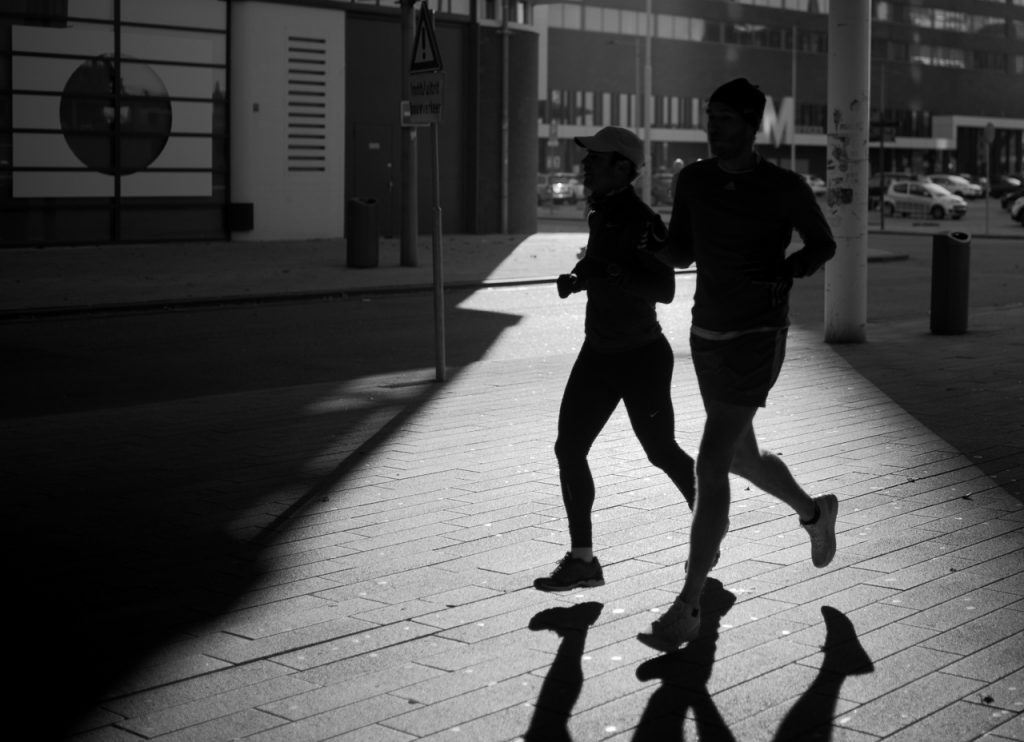
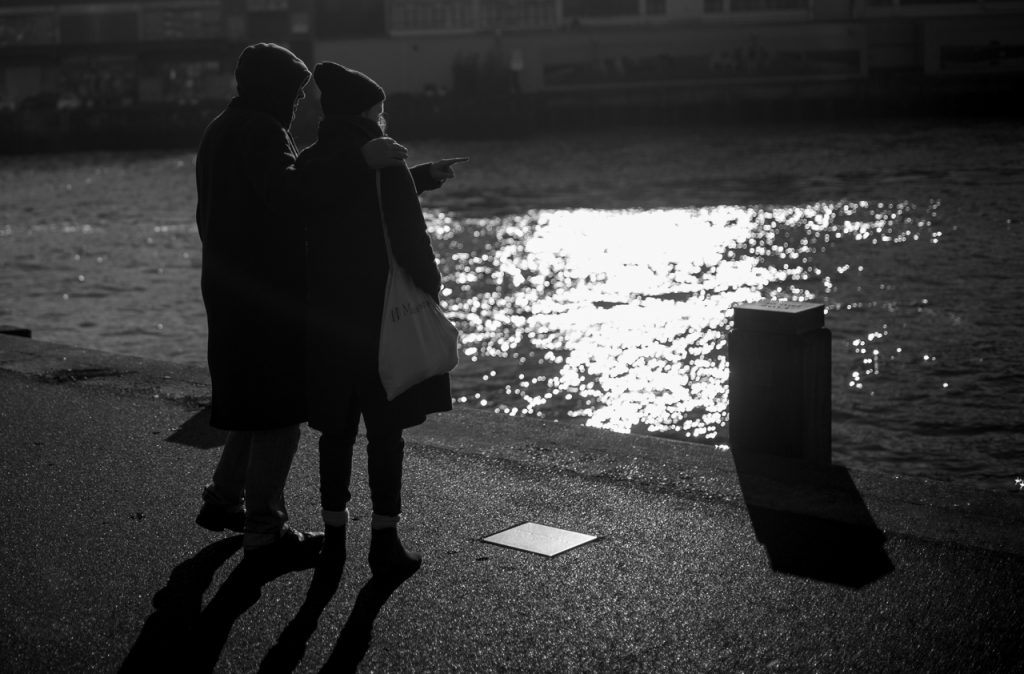
“My brother and I had a 2-day workshop with Joeri recently (Oct 2018) in the Netherlands. We did one day of street photography in Rotterdam and one day of portrait photography with a photo model in a studio. It was the first time I had a workshop with Joeri and I really enjoyed Joeri’s approach. Joeri is very enthusiastic (but relaxed at same time) and very focused on ensuring we got a maximum of new knowledge out of the two days.
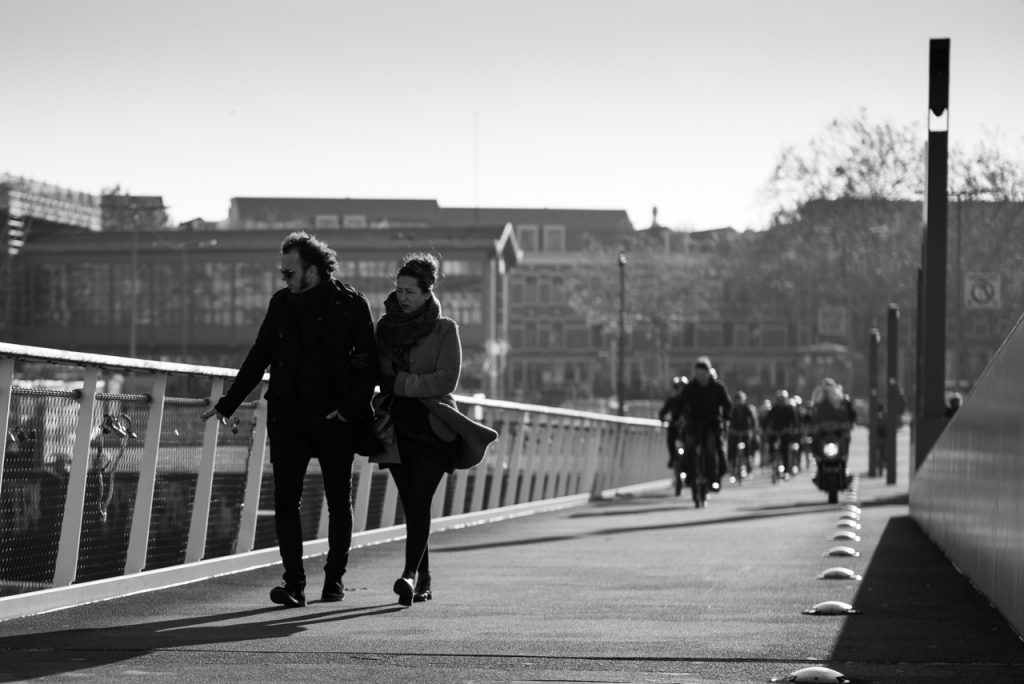
I particularly liked his practical advice in street photography such as the use of light (and shadows), focus, composition and the 1/3rd rule – definitely aspects that I will continue to use. I thoroughly enjoyed the portrait photography in the studio. It exceeded my expectations by far in terms of what I learnt from it, particularly in terms of composition of a good portrait, and the results we got out of it. Joeri gave great advice in terms of lighting, positioning of the model v-a-v background and lighting, composition, and editing of pictures.
Overall, the workshop was a great experience; the combination of street photography and studio work was really interesting and fun. And importantly, I have learnt things I can apply going forwards.”
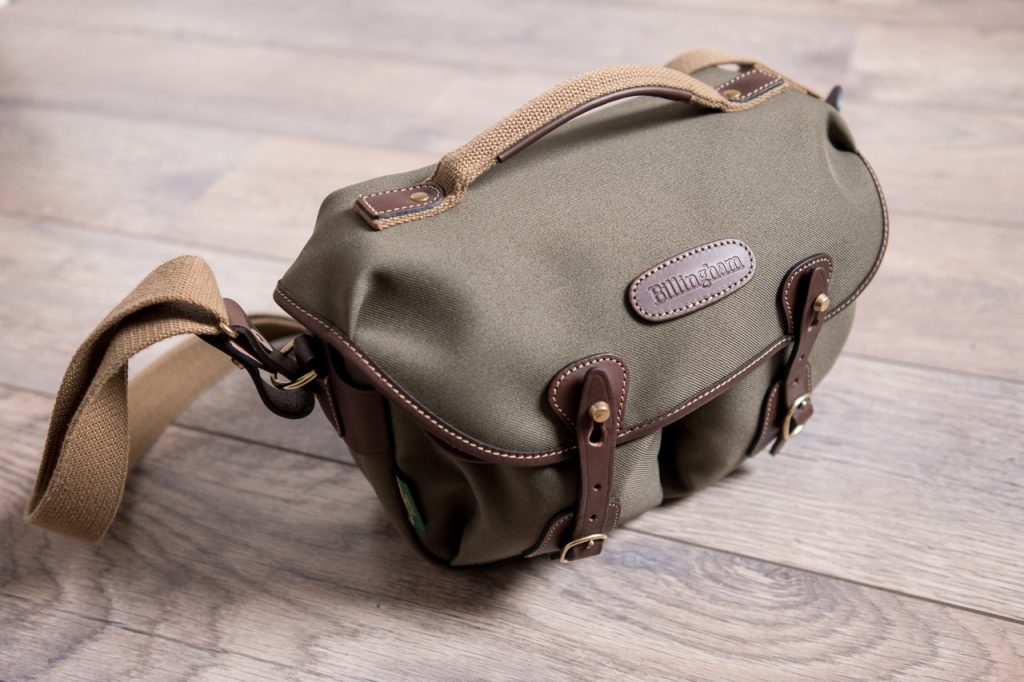
The Billingham Hadley Small has seen the most use of all my camera bags. As far as I’m concerned, this is THE bag for a compact rangefinder system. The Germans would call it ‘die Tasche’. But now, there’s an even better bag on the market: the Hadley Small Pro.
My black canvas Hadley Small has been around the world. Literally. It has been in all corners of South-East Asia, in Australia and New Zealand and in edgy neighborhoods in South America. It also still is my most used bag for city trips and day trips. For my professional work, I rely on the excellent Billingham 225. Having said that, if you work with a compact RF set, the Small is big enough for professional use too. It’s just that the amount and size of my lenses have grown and that I often take additional non-photographical equipment that doesn’t fit in the Small.
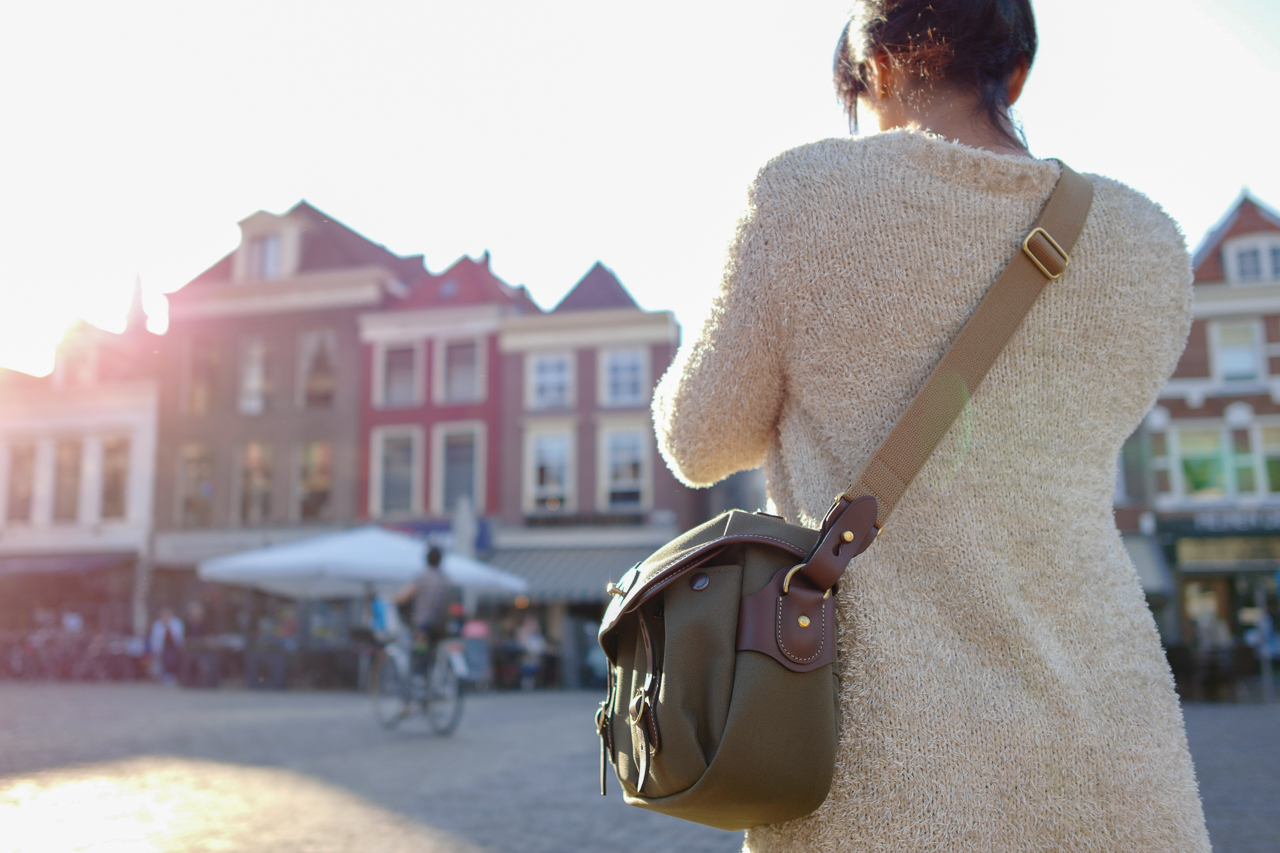
Neat little bag, not too small for a guy, not too big for a girl.
In the early days of my documentary weddings, the Hadley Small was big enough for me. You could ask if my photo’s have gotten better with the increase in gear that I have. That’s an interesting question that I’d like to answer later. For now, let’s conclude that a Hadley Small is big enough for a very compact RF setup, unless you bring big or heavy non-photographical equipment.
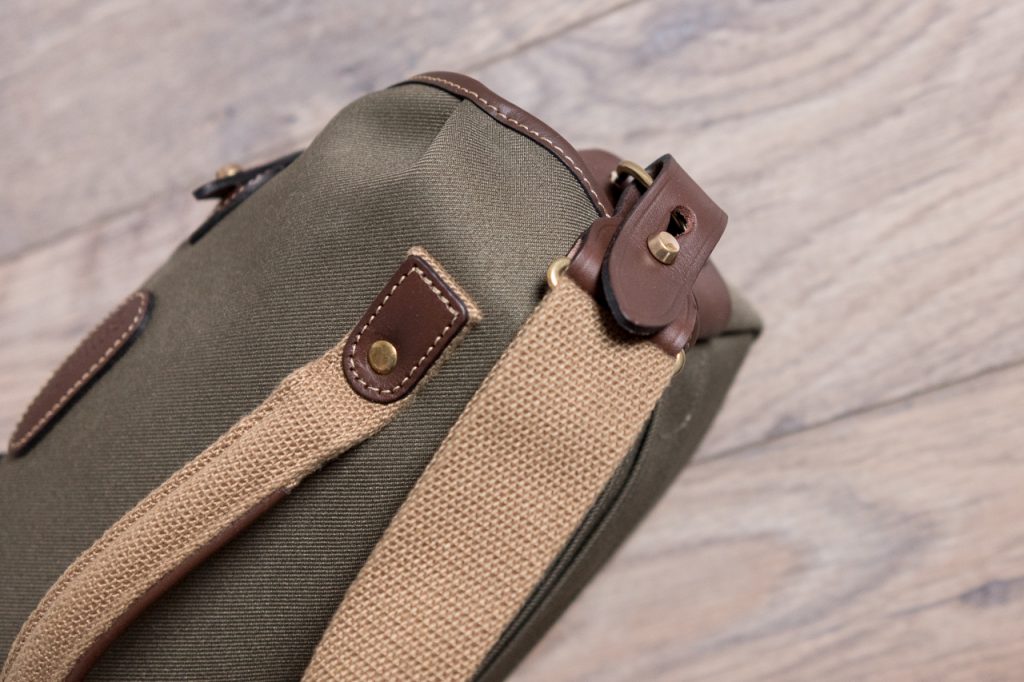
The most striking difference is the addition of a top handle, like the Hadley Pro also has…
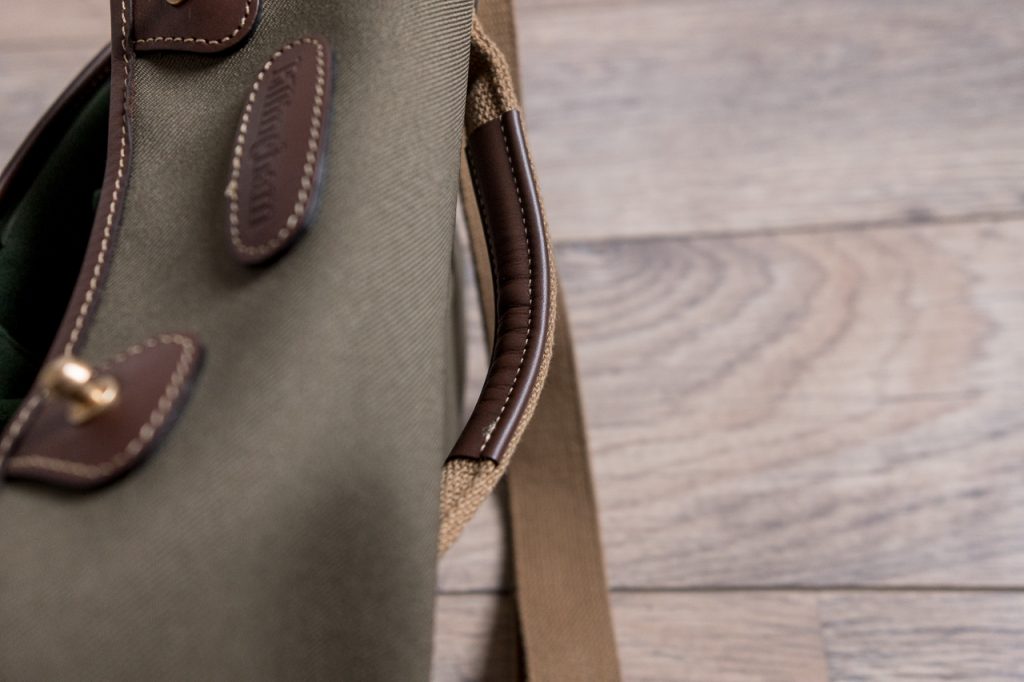
So let’s take a look at the differences between the regular Hadley Small and the Hadley Small Pro. The most striking difference is the addition of a top handle, like the Hadley Pro also has. For me, this is a neat feature, not because I carry the bag by it’s top handle a lot, but because it’s much easier to pick it up with the to handle. Be careful though: close the lid before picking it up. My Hadley Pro has a regular top handle, but this one has leather on the underside, which offers a much nicer and softer grip.
Nice leather grip improves handling and comfort
A second difference, a bit related to the first difference, is that you can detach the carrying strap. For me not really relevant, but it might be convenient if the strap often gets in your way, for example when traveling by plane, when you’ll probably carry the Hadley Small Pro on your trolley with the (third difference) added trolley retainer strap. A clever and very useful feature.
The shoulder strap is detachable and there’s a trolley retainer strap for flying photographers.
The final difference is the addition of a document pocket on the back of the bag. The pocket can be closed with a waterproof zip and while I sometimes laugh about these zippers (when the fabric around the zip isn’t waterproof at all), for this bag it makes sense. Why? Well, because Billingham fabrics (both canvas and FibreNyte) are as waterproof as you’ll ever need, unless you go for a swim. How that works? Canvas itself is already quite waterproof, but the addition of a very thin layer of rubber material makes the bag truly waterproof (but not submersible of course).
Why? Well, because Billingham fabrics (both canvas and FibreNyte) are as waterproof as you’ll ever need, unless you go for a swim…
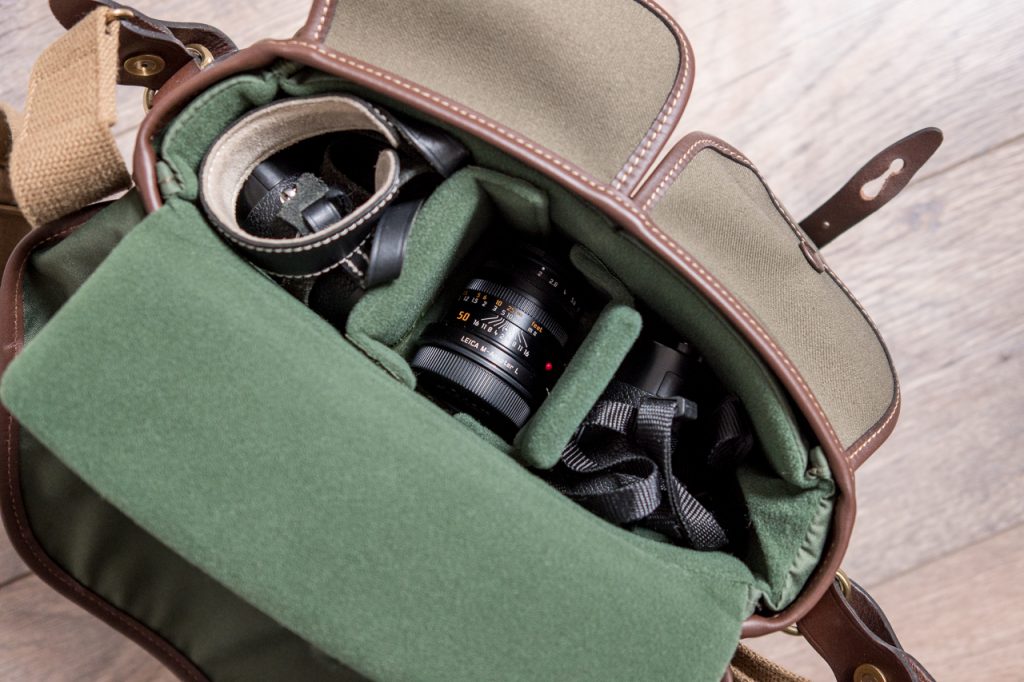
So what can you fit in the bag? The interior is exactly the same as the regular Hadley Small, so you can start by taking a look here. But things change, so let’s try a couple of different setups. Here we go.
This is the first set-up. More or less a classic Leica M kit. In the bag it looks like this:
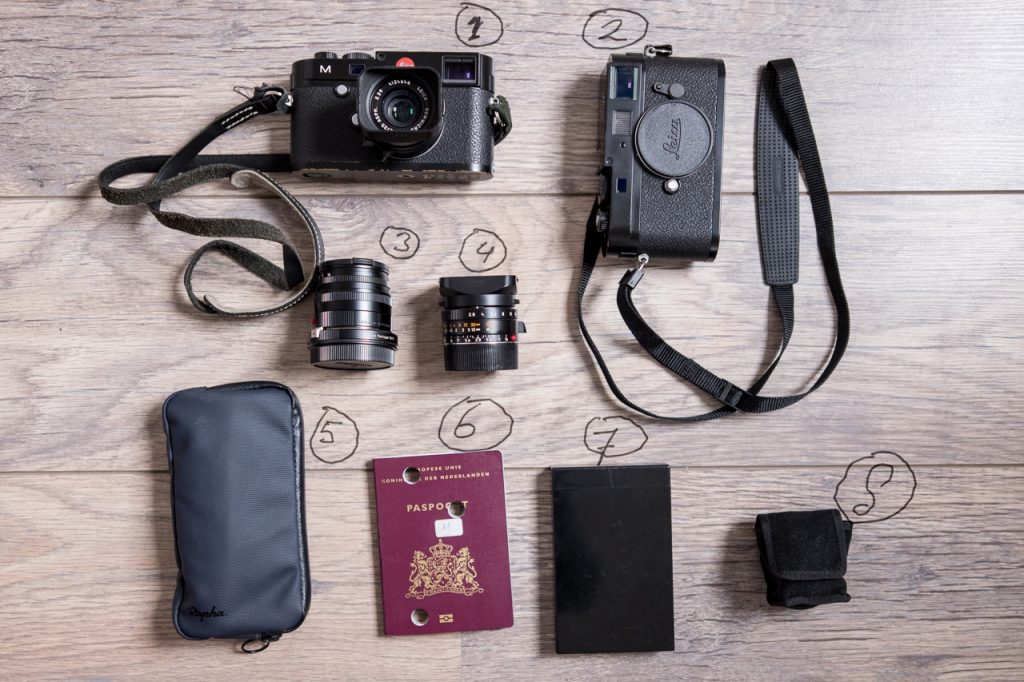
You could easily store more gear in the bag, but with this setup, it’s very easy to get your gear in and out. Here’s the content:
1: Leica M(240)
2: Leica M9P, still the nicest looking M
3: 50 Summicron with the T adapter.
4: 28/2.8 Elmarit. Superb little lens.
5: Wallet (Rapha essentials case waterproof): I stopped using ‘regular’ wallets when I had to repack my wallet every day for my bike rides.
6: Passport. I wore this on my chest when I was a war photographer in Afghanistan.
7: Backup harddisk
8: EVF for the M240
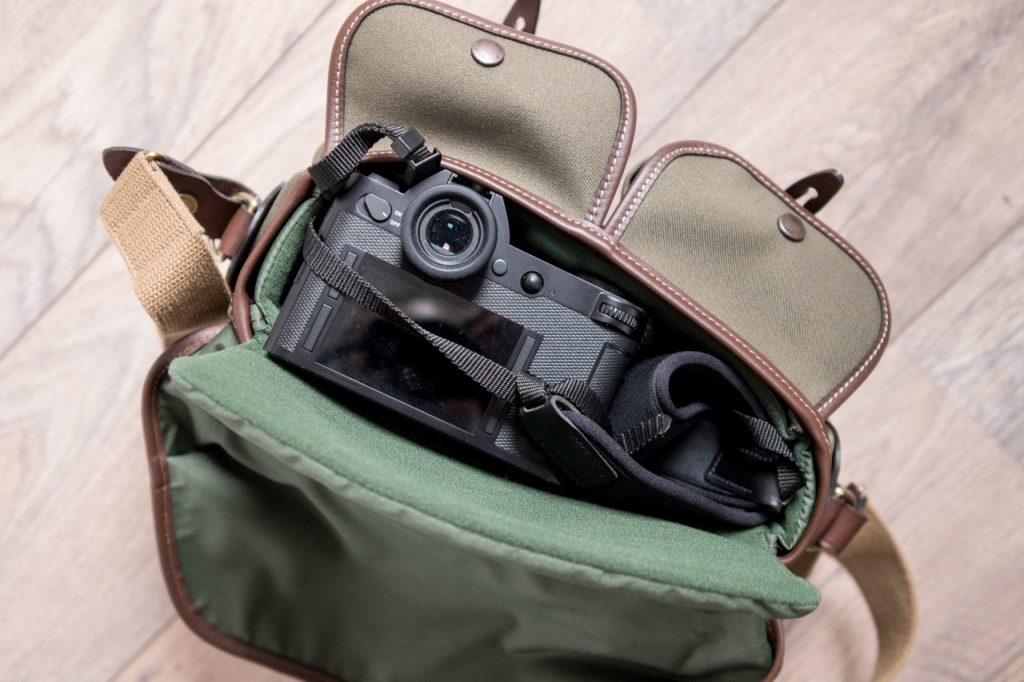
Next, we have a more typical SL setup that I could take to any assignment. Here’s what it looks likes:
I’d say that the Hadley Small Pro is a bit small for the SL, but it does fit. Here’s what’s in the bag.
1: Leica SL with 50/0.95 Nocti attached.
2: Leica M9P as a backup camera
3: My famous wallet.
4: The passport that saves my life ( I was joking obviously).
5: Leica 24/1.4 Summilux. A lens I never thought I’d want, but now I have it, I can’t imagine going to a wedding without it.
6: CV35/1.2. Still a nice 35mm lens without a tab, nice on the SL.
7: Backup HD
8: Charger
9: Powercord. Doubles as a whip for annoying guests on weddings.
if the regular Hadley Small is Obi Wan Konobi, the Hadley Small Pro is definitely Yoda itself…
Conclusion
The short version: the Billingham Hadley Small Pro is the best bag for a compact rangefinder setup. Translated into Star Wars terminology: if the regular Hadley Small is Obi Wan Konobi, the Hadley Small Pro is definitely Yoda itself. ‘A perfect bag it is”, he would say. “Carry it will all your Leica gear”.
With the typical M setup, you can comfortably walk all day and have a very sturdy, water resistant/proof, nice looking (but not Gucci looking) bag at your side. You really can’t go wrong with this one.
A few weeks ago I received an email from Zak, a wedding photographer in the USA.
Hi Joeri, My name is Zak and I’m a wedding photographer in the United States. I wanted to thank you for the wonderful resources you’ve provided to the Leica community (and photo community in general)…(..)
I’m curious if you’d lend me some more insight into how you photograph a wedding. My real passion lies in street and documentary work and that is how I photograph 90% of the day except for the requisite family group photos. Even the portrait session with the couple is primarily documentary style with some mild coaching and posing on my part. I’d like to even do less posing than the bare minimum that I currently do, but I feel like that might be doing my clients a disservice…
What I’m really curious to see is how you photograph the reception/party using only available light. I am still relying on off-camera speed lights, typically placed near the band/DJ to help light the dance floor/party. I keep it as minimal as possible and try to keep it looking natural, but still I feel like I’d like to take it a step further and shoot entirely naturally. Would it be possible to send me a link to some client galleries of your wedding work or do you have any words of advice? Best wishes!
Thanks, Zak
First, thanks for mailing Zak. Sounds like you found your way in documentary wedding photography.
I also shoot my weddings like I would on the streets. I don’t coach, don’t intervene with what’s happening. If the light is bad, the light is bad. I won’t ask the bride to ‘step into the light’, because that would break my ‘ethical code’. As soon as I start asking my subject to do things, the situation will change. They will become aware of things I don’t want them to be aware of. I want them to be as natural/be themselves as much as possible. Having said that, I do like to be prepared. For instance, the first look often happens in tiny, poorly lit hallways. I’d like to know what’s going to happen, so I can prepare. So I’ll just ask: “Where will you meet the groom?”. That’s it. The first look is one of the scariest moments of the whole day, even though I’ve shot more than 200 first looks.
Lovely rendering and one of my favorite shots ever.
There are two exceptions to my documentary approach: the staged family shots. Here I have to give directions, otherwise it will take all day. Rule of thumb is that this ‘shoot’ never takes more than 20 minutes, otherwise I’m just not the right photographer. I understand why people want these shots, but I’d lie if I’d say I like to take these shots. I think most photographers don’t like this part of the day.
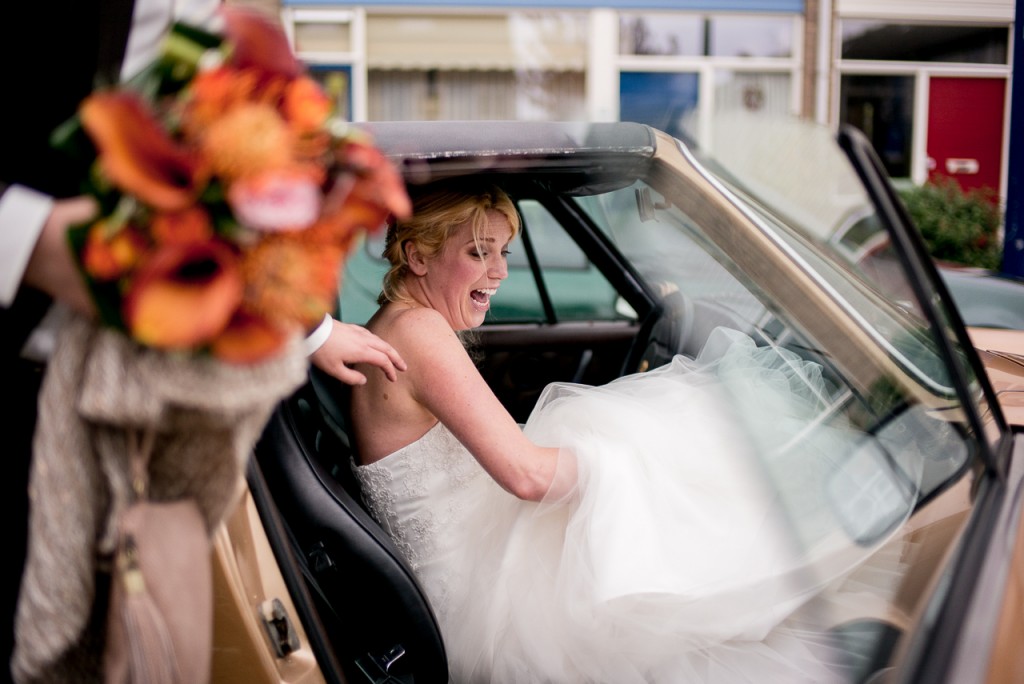
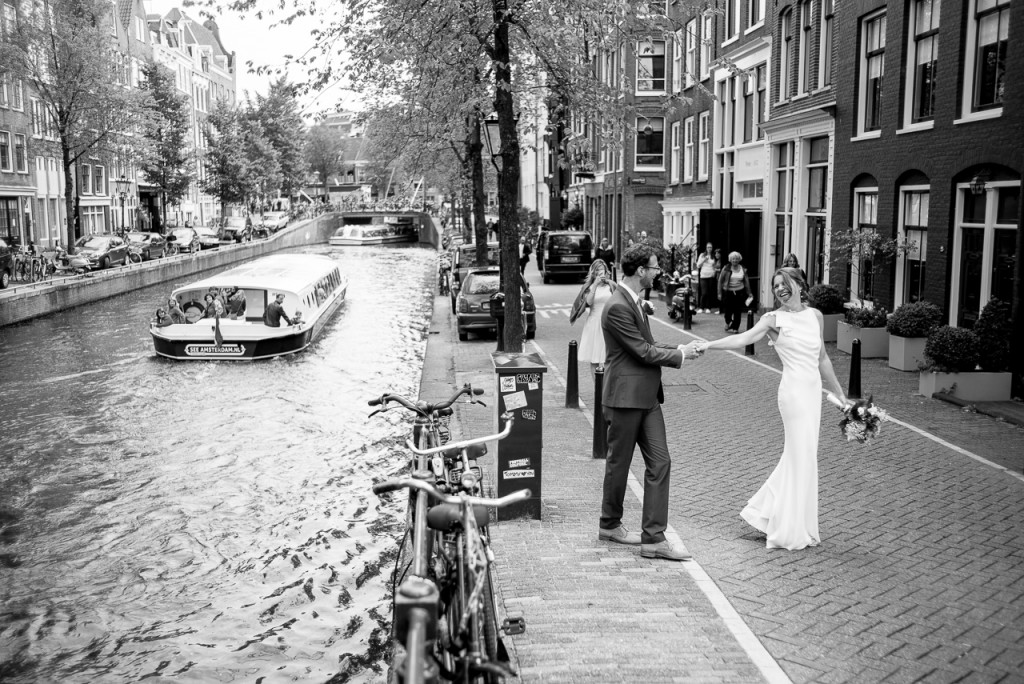
The second exception is optional (the first is also optional by the way). Some shots of just the bride and groom. We just take a walk (10, 20 or 30 minutes or so) and I run around a bit, not giving any directions. I’m just shooting the couple, while they’re walking. Sometimes this moment comes very naturally, when they go from place A to B.
Often, my clients prefer shots like these in stead of doing ‘the walk’.
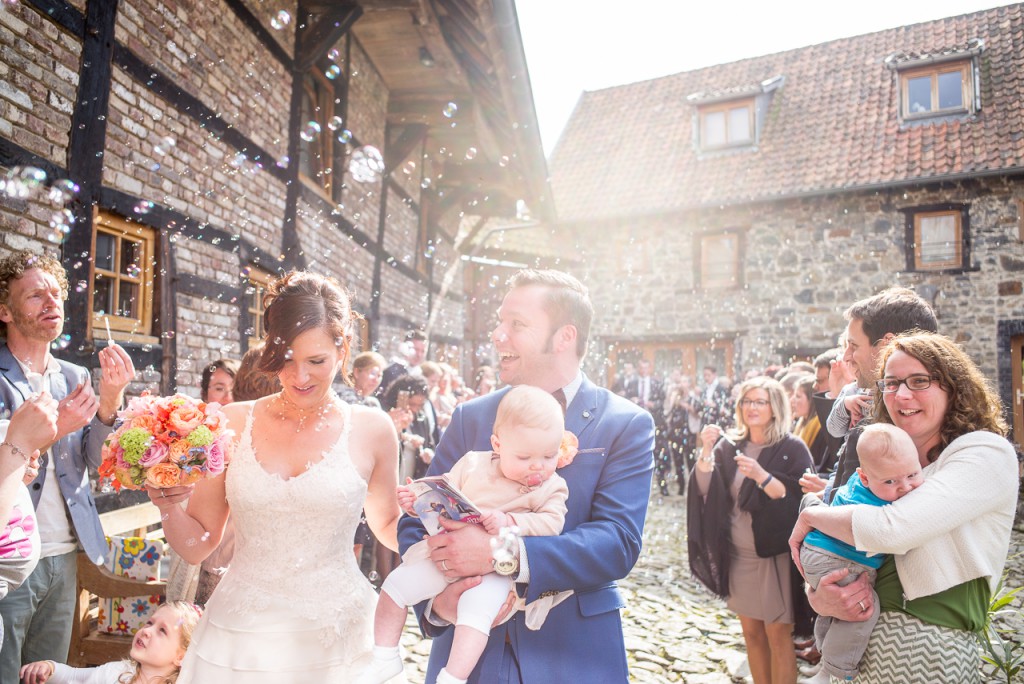
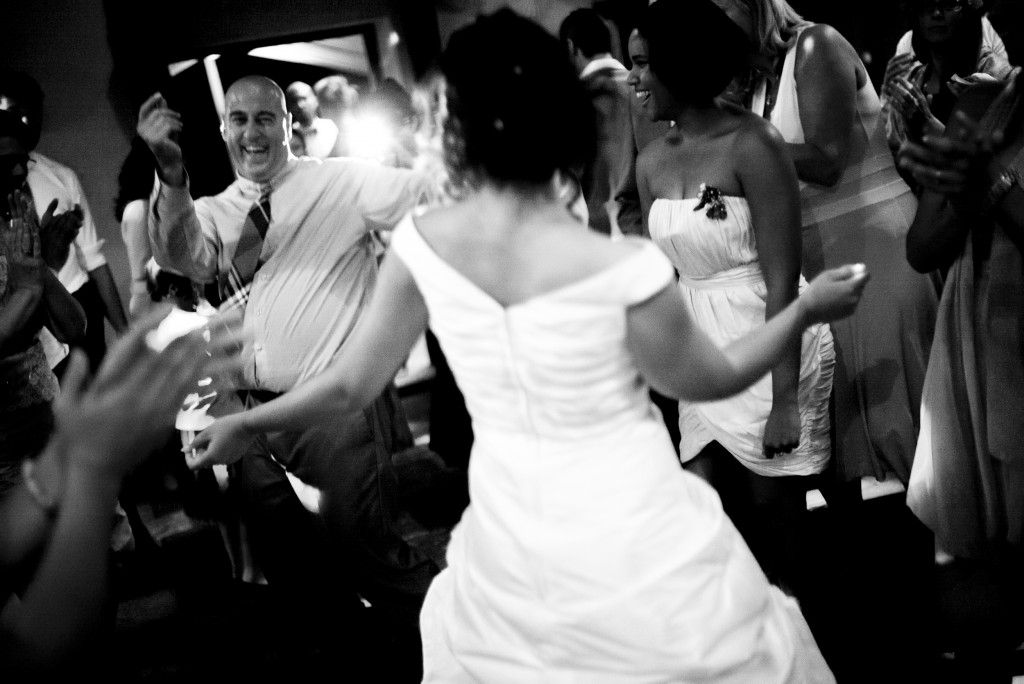
With regards to your last question: I never bring any flash at all to a wedding anymore. Two reasons: even though the reception/party is completely different to the ceremony (music, movement, light) I still think people will notice me much easier if I use flash. And with noticing me, comes the ‘pose for the party pic’ thing, which I really don’t like. Second, I deliver a complete series of photos to my clients, which (I feel) should be more or less consistent. Using flash would disrupt the consistency for me a bit, even though I know you can get great results with off-camera flash. In the M9 days it could be difficult with dim situations, but now with the SL and the Noctilux, I always have enough light.
But sometimes things like these happen when the couple moves from A to B…
I can’t give you any links to client galleries, mostly for privacy reasons, but I hope my website provides enough pictures, even though I haven’t updated it in ages.
When the light is tough and the ISO is high, you always rely on B&W.
Yes, I know, I’ve said this more than once. And personally, I usually practice what I preach. But last week I were on my bike twice and encountered the most beautiful scenery without my camera. All I could do was take a shot with my iPhone SE.
Even though I know there are better iPhones nowadays, they still aren’t a good substitute for a Leica T(L2) or CL with the tiny TL 18/2.8. Let’s take a look at them:
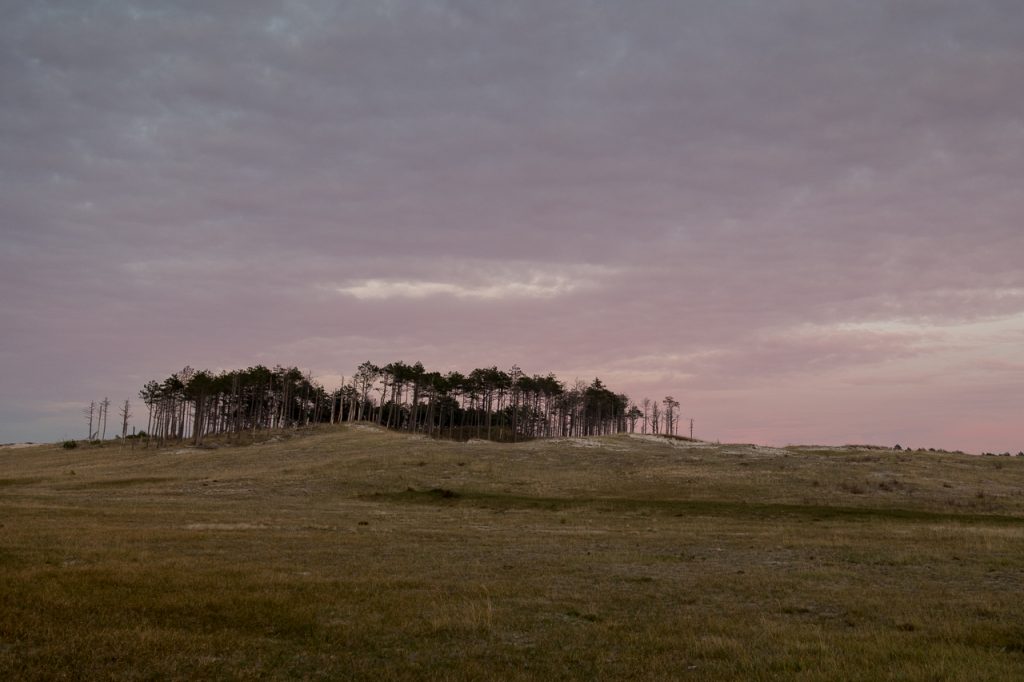
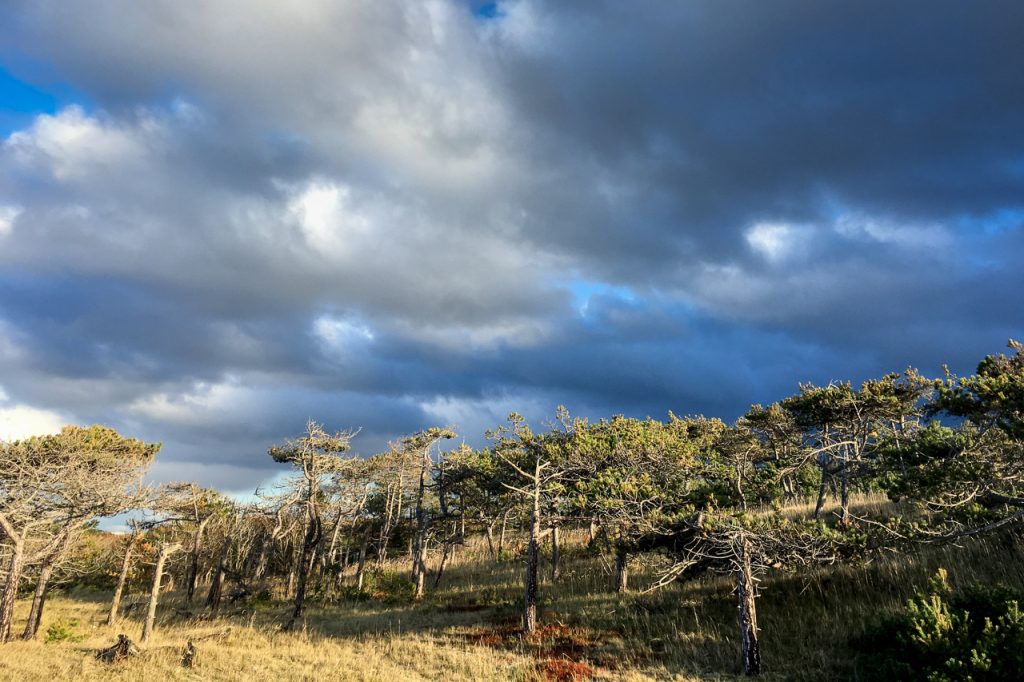
In the shot above, the light was bizarre. There was strong, but soft light on the trees (autumn and winter have superb light when there is sun) while a new storm was coming in. While the Iphone SE has a higher resolution than my old Leica M8, it is also a perfect example why resolution is not relevant to me. If you take a look at the crop below, the amount of detail in the trees is not impressive at all. And these are optimal conditions with plenty of light.
The same can be said of this picture. Not bad, but if you’re looking at the crop (or if you’d print it at anything larger than 13x18cm) it will be disappointing.
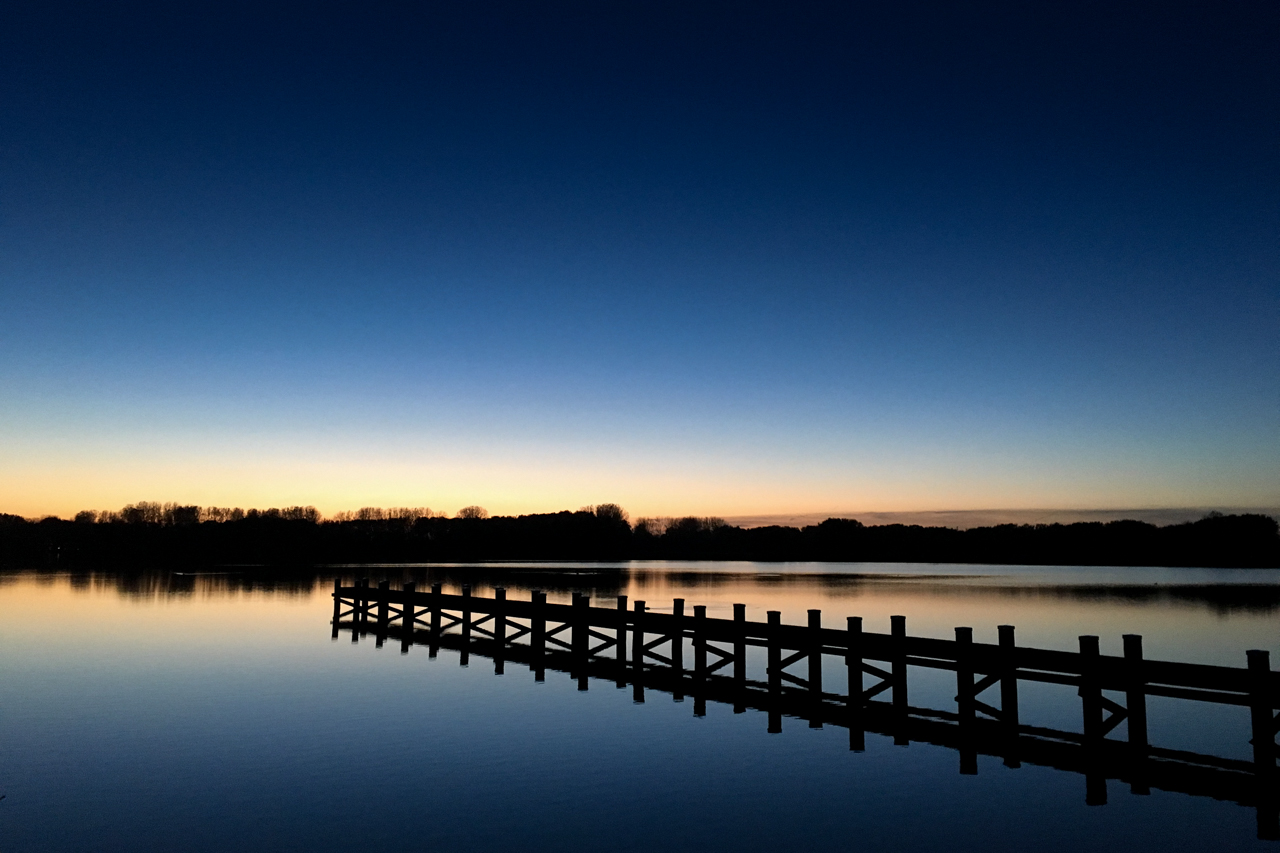
The last one was a bit more challenging, because of the lack of light. However, the iPhone SE starts to show noise even when shot at ISO 200. Yes, the M8 is still crisp at that setting. You can get rid of noise, but hey, we want clean crisp shots straight out of camera.
Is it only misery? No, it’s better than nothing. These shots are good enough for social media and for sharing with your friends. But I’ll never print them, nor are they good enough for portfolio work. If I’d just brought the Leica T, I could have had both.


 I’d say that the Hadley Small Pro is a bit small for the SL, but it does fit. Here’s what’s in the bag.
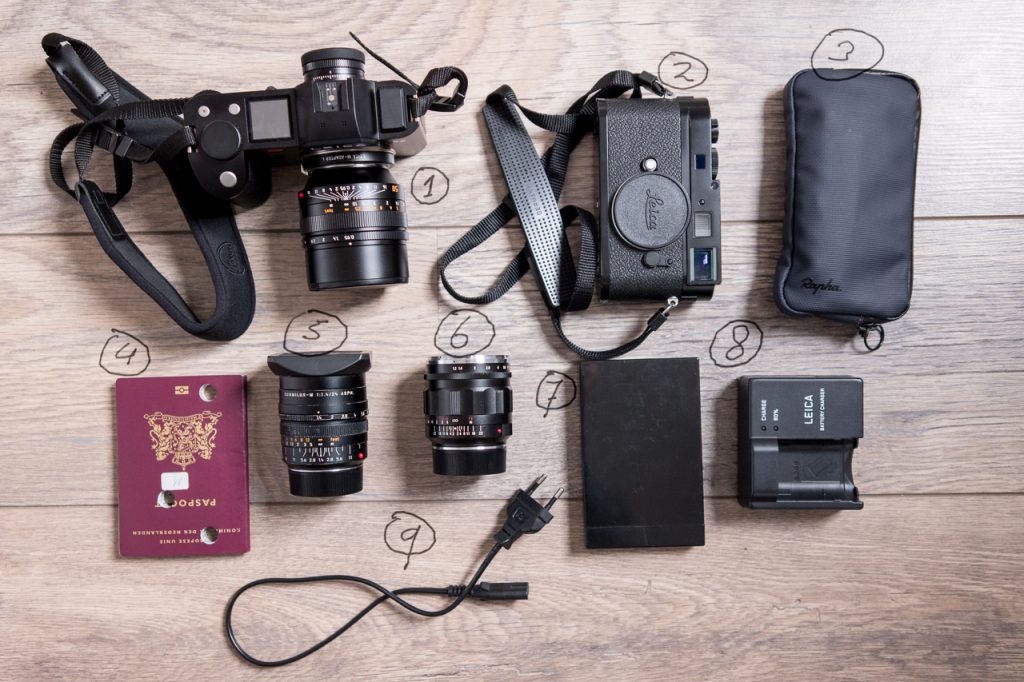 1: Leica SL with 50/0.95 Nocti attached.
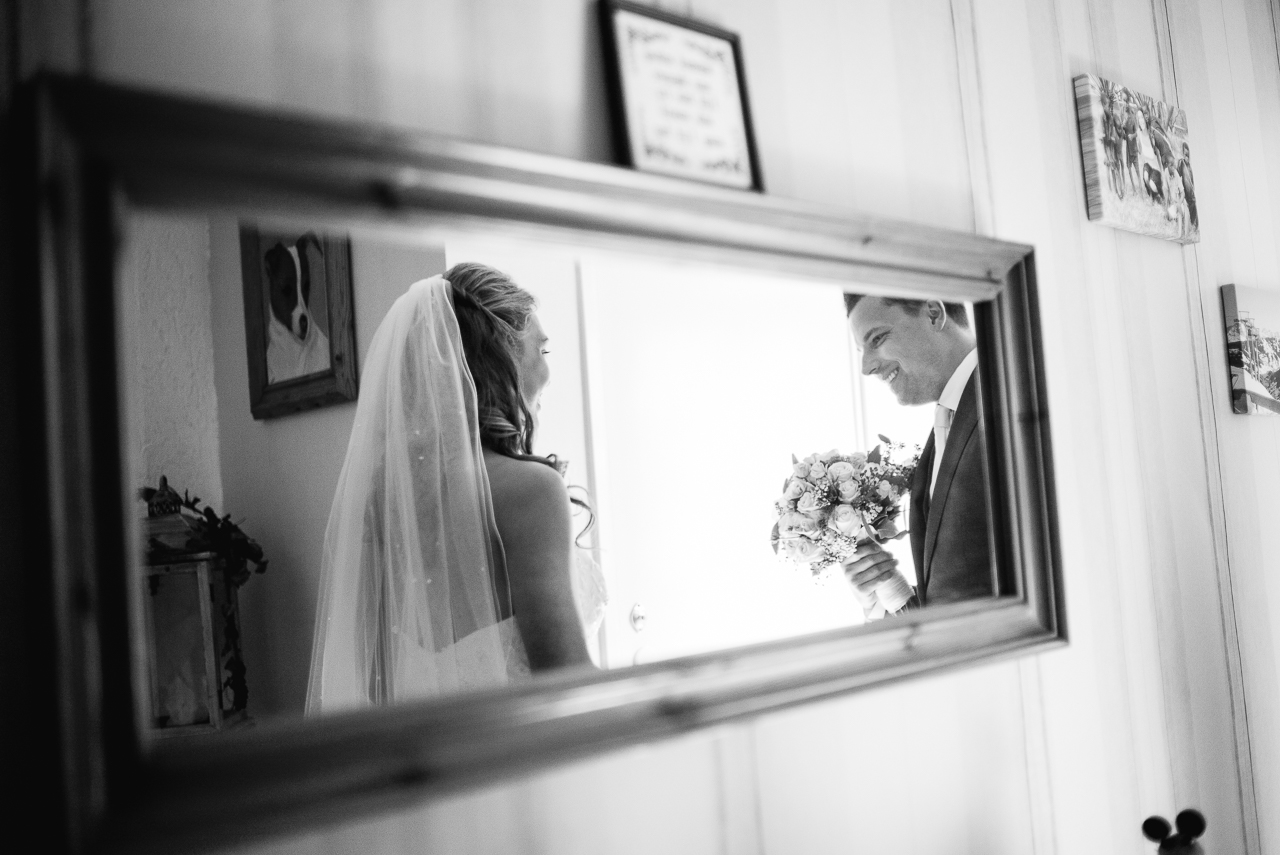
 In the shot above, the light was bizarre. There was strong, but soft light on the trees (autumn and winter have superb light when there is sun) while a new storm was coming in. While the Iphone SE has a higher resolution than my old Leica M8, it is also a perfect example why resolution is not relevant to me. If you take a look at the crop below, the amount of detail in the trees is not impressive at all. And these are optimal conditions with plenty of light.
 The same can be said of this picture. Not bad, but if you’re looking at the crop (or if you’d print it at anything larger than 13x18cm) it will be disappointing.
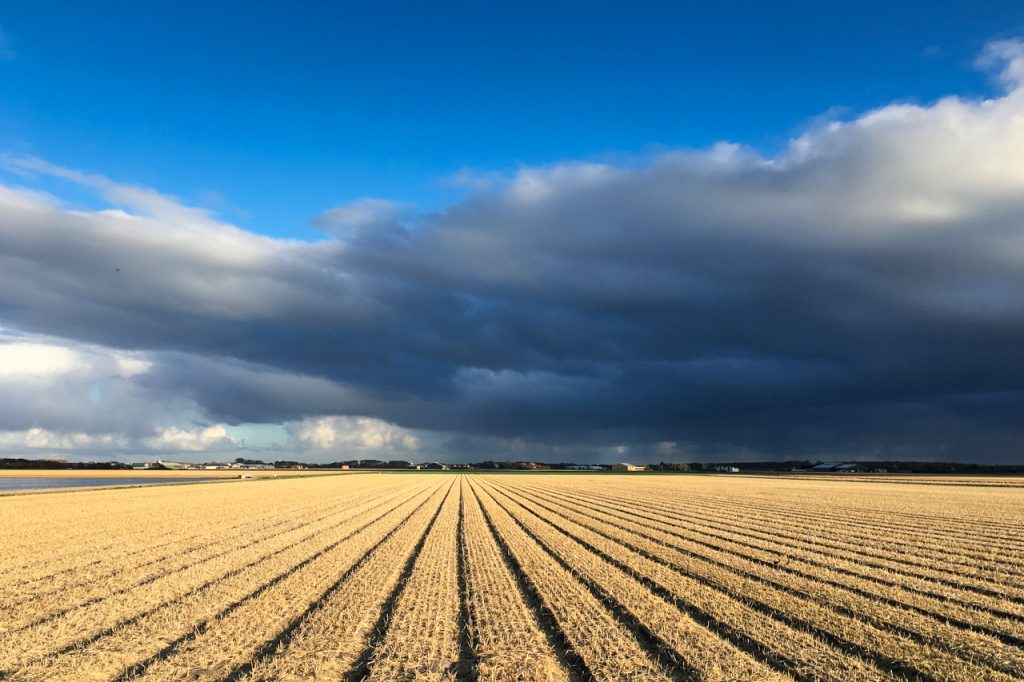

 Is it only misery? No, it’s better than nothing. These shots are good enough for social media and for sharing with your friends. But I’ll never print them, nor are they good enough for portfolio work. If I’d just brought the Leica T, I could have had both.